Foodie DIY || Flavoured Oils
After failing to create the flavoured oils I had in mind for a Christmas present, alongside some recipe inspiration from Cate in the Kitchen, I thought I’d use the lovely Kilner bottles I’ve been storing for a quick and easy foodie DIY. In my head I swore I had three, but hey ho, apparently I was wrong. Overly optimistic memory, cheers brain!
Adam and I love adding different flavours to food, and when we went up to visit his Dad and Stepmum, we were treated to a few delicious recipes of Ottolenghi’s, one of which was possibly the best salad I’ve ever had. It was something along these lines, but the combination of green beans, orange, hazelnuts, garlic and pepper was delicious – especially as June decided to add orange oil instead of just plain olive.
What else has a girl got to do on a rainy Saturday other than recreate this deliciousness?
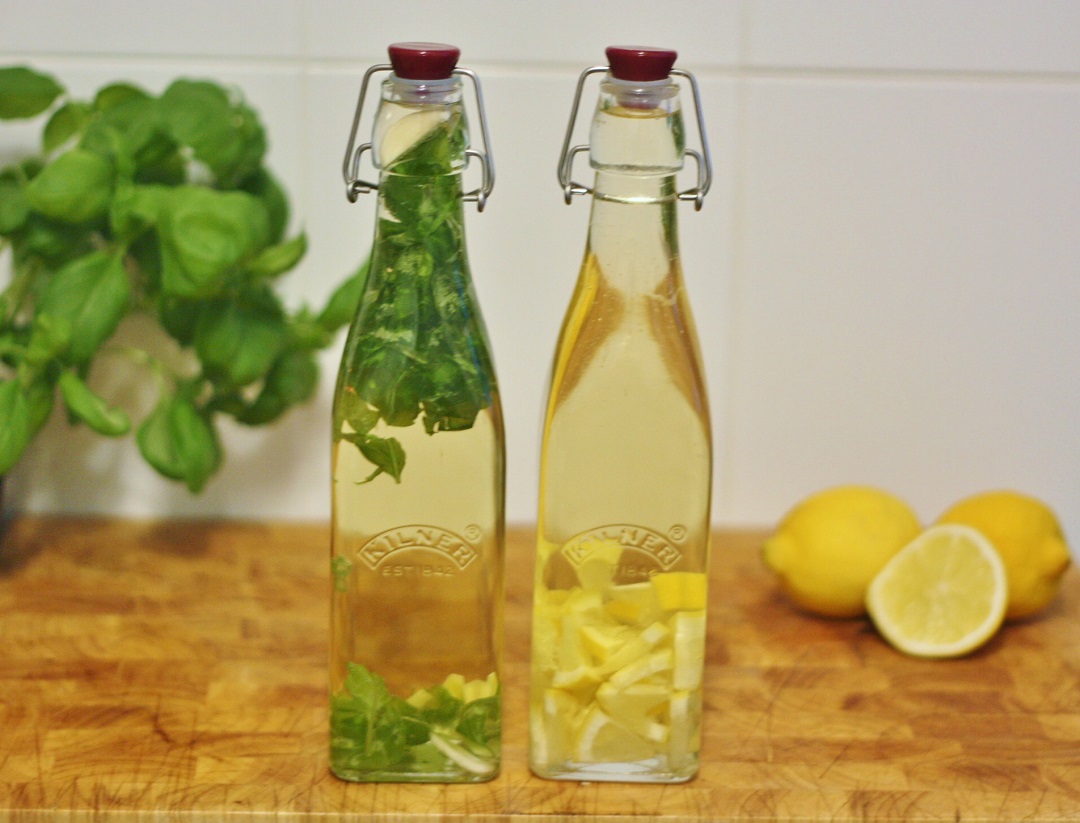
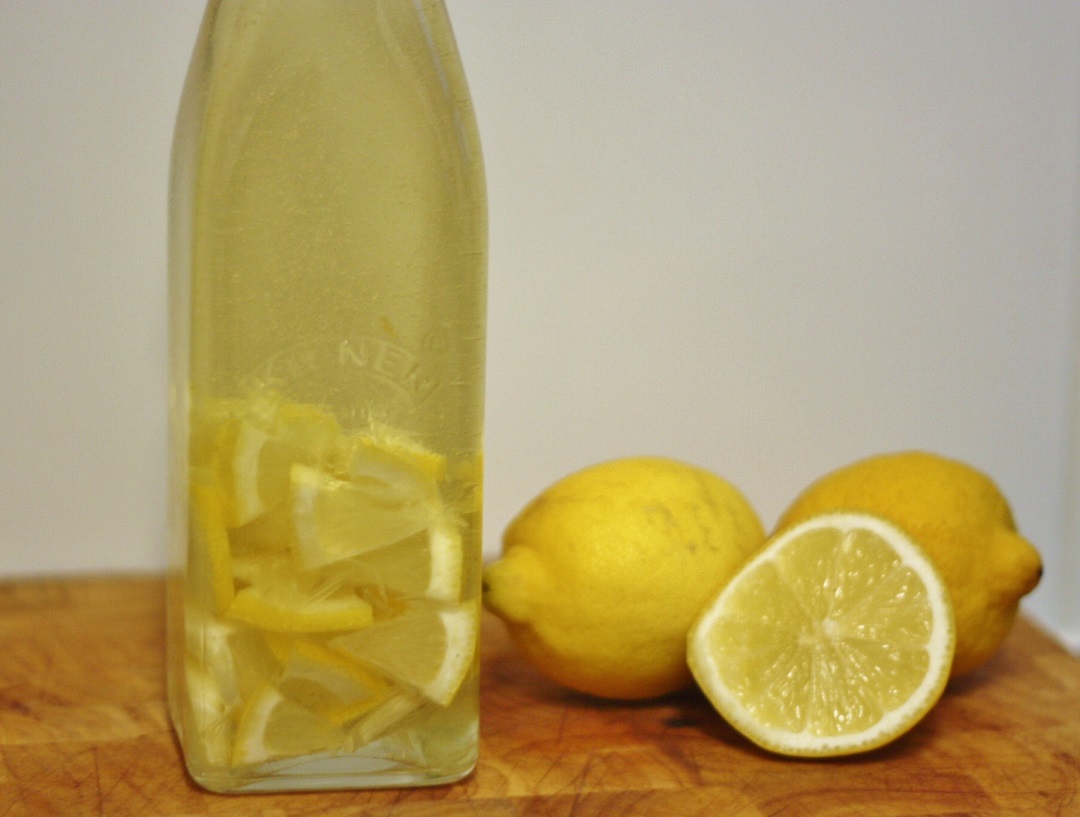
The three flavour combos we wanted to go for are probably the most useful in our every day cooking – lemon oil, basil and garlic oil, and rosemary and chilli oil. Stupid kilner jar optimism meant I only could make the first two for now, but they’re so quick and simple, as soon as I’ve bought another jar I’ll make the third too.
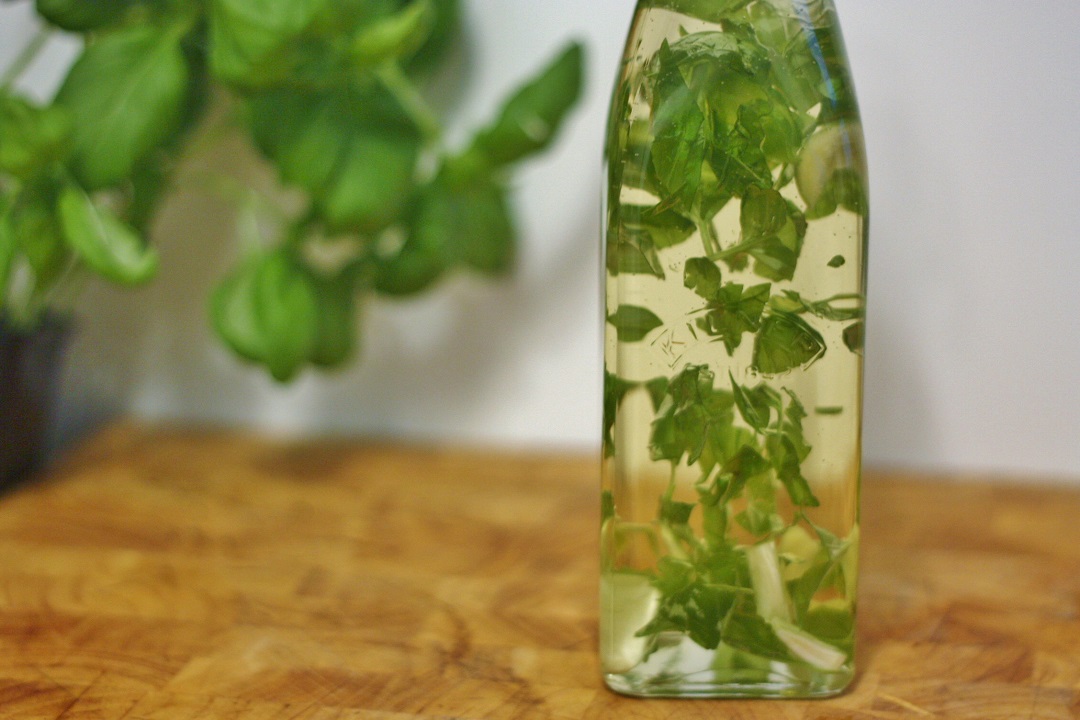
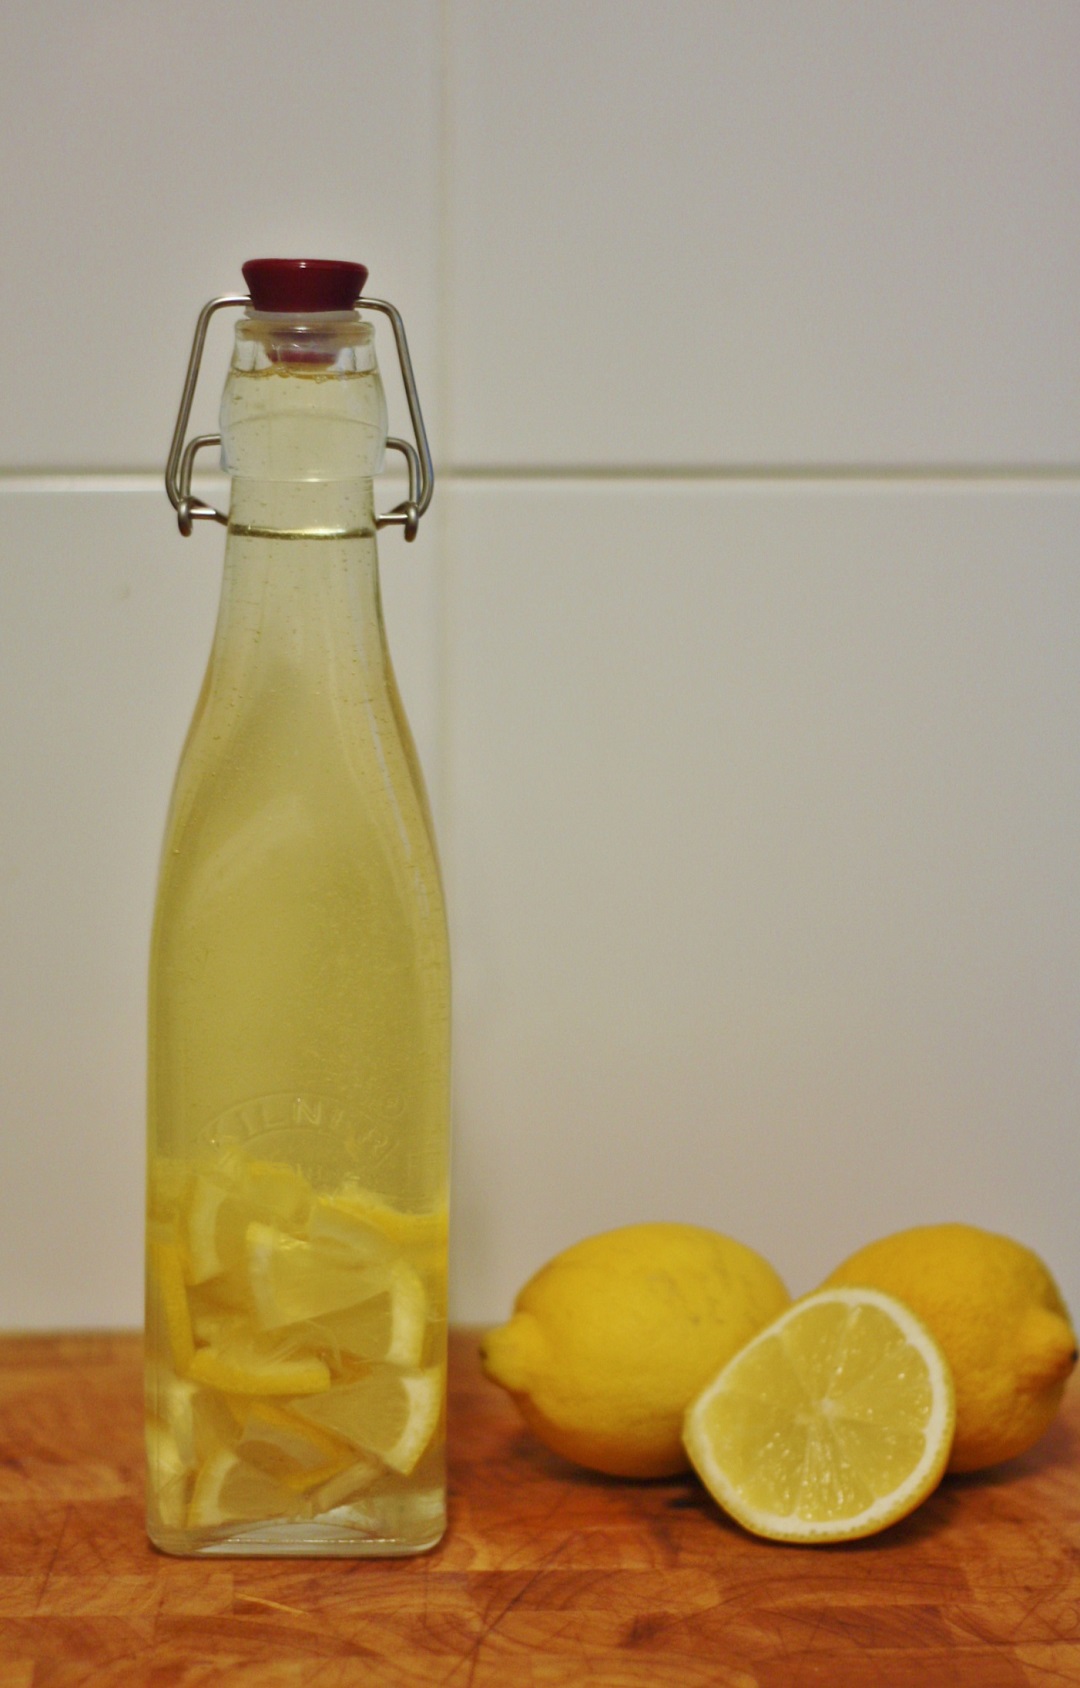
All you have to make sure you do is completely clean out the bottle of jar you’re going to use, fill it about 3/4 full with your oil of choice – we used a light coloured olive, but you could use any other you fancied – rapeseed, peanut, sesame…, shove in some flavour of choice and then top it up right to the top (this bit is important as any air touching the flavours – especially fresh herbs – will make them go off and your oil will be ruined!).
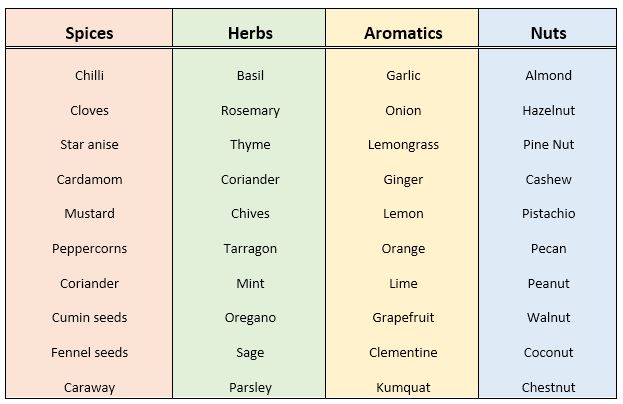
Think about good combinations and the sorts of meals you’d normally cook or use a flavoured oil in. You can use spices, herbs, aromatics, nuts or a mixture of them to suit your fancy.
Some recommend heating the oil and the flavourings on a stove, before cooling, straining and bottling just the oils but I’ve always had great results simply by leaving the added ingredients fully submerged in the oil for a few weeks before using. The one major thing you’ll need to do is make sure all the additions are either fully submerged in oil, or removed after 2-3 weeks before you start to use the oil as once they’re exposed to the air they will spoil.
The combinations you can try are endless, it’s far cheaper making up your own flavoured oils than buying them pre-made, and the flavour you can achieve is just as good. Why not try:
- Basil and Mint
- Rosemary and Orange
- Hazelnut, Thyme and Lemon
- Ginger and Cardamon
- Star anise, Lemongrass and Lime
- Pine Nut, Oregano and Basil

As these were originally planned as for a gift, and I think flavoured oils make a really simple, cheap but thought out and well received present. Question is – will you give them away or keep them for yourself?