DIY: Fireplace with Map Detail
When we first moved into our house (I say our house, it’s actually 100% owned by Adam!), the main room that I felt needed decorating was the living room. The hub of most households and one of the rooms you tend to spend most time awake in, this one was particularly iffy. 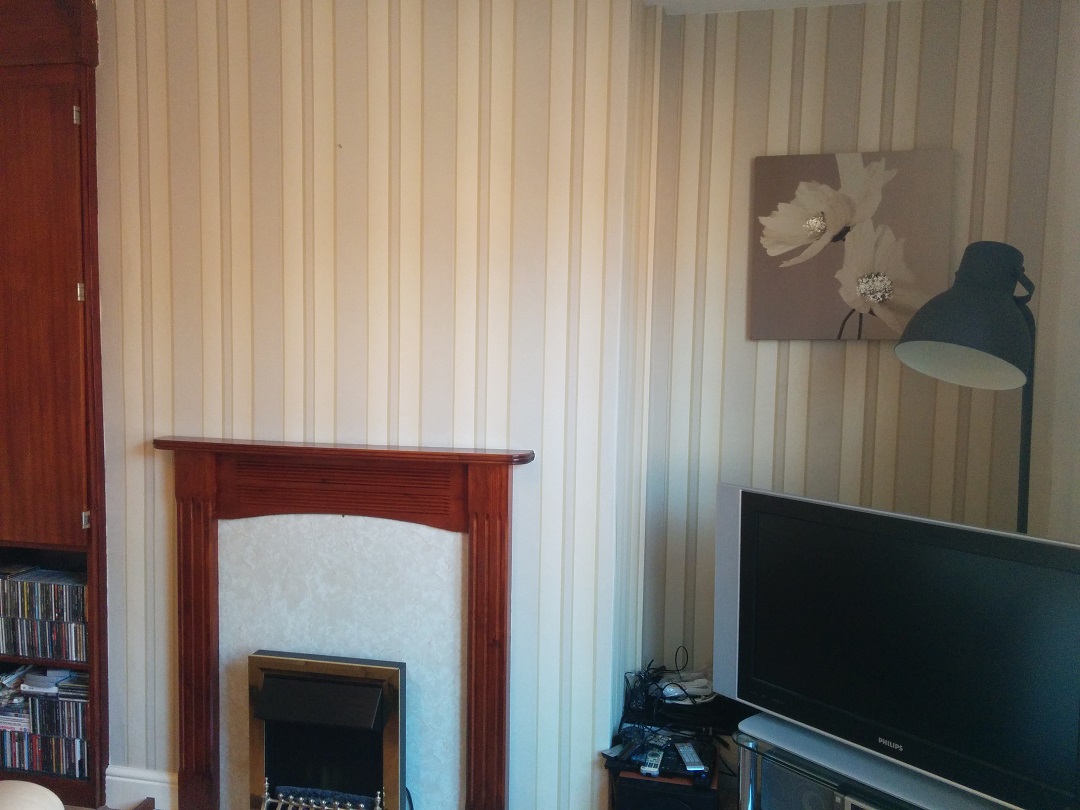 Before = striped wallpaper in various browns and beige on one wall, artex swirly wallpaper on the other three, stained dark woodwork, a weird golden electric fire – you can tell that an elderly gentleman used to live here. Adam wasn’t too fussed by it but it bothered me, so over Christmas we got to it and stripped,repapered, moved doors and light switches, painted and scrubbed, until all that was left to do was the fireplace.
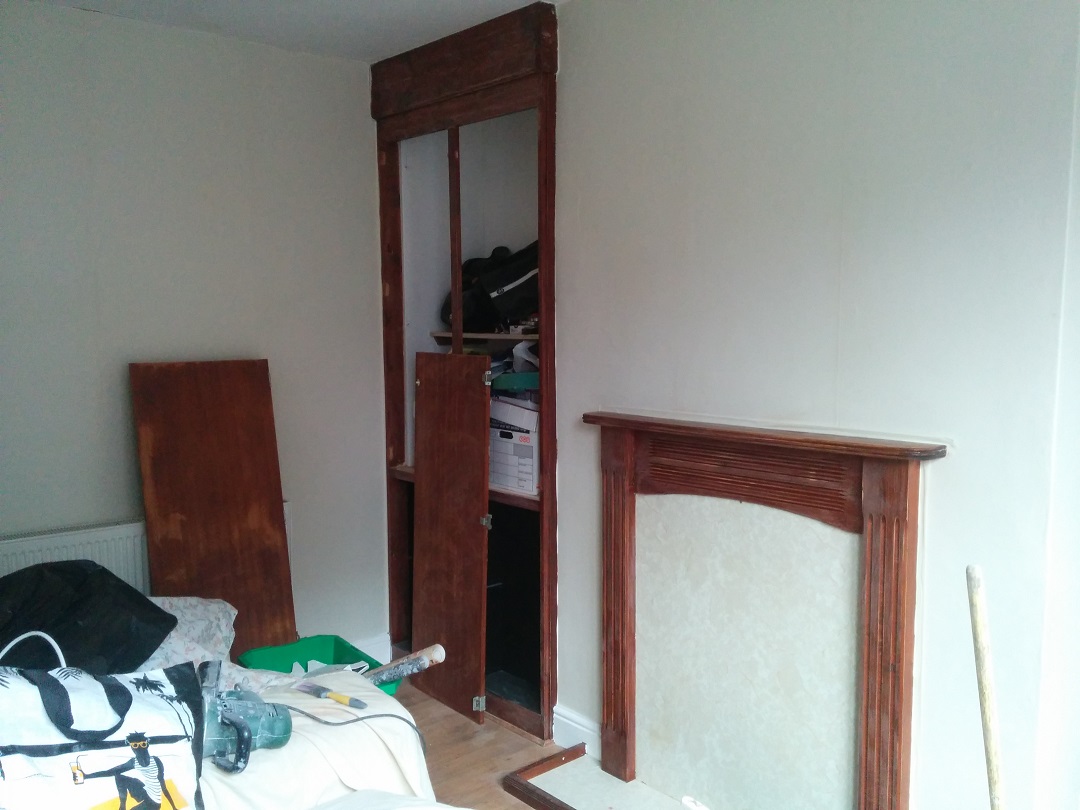 Being blocked up, there isn’t a lot we could do to make it more open, but although I’m a fan of wood, it seemed too dark so the first job was to sand it all down ready for painting. This took longer than I expected as there was a LOT of varnish on it, but I was excited to get on with it and sooner or later it was ready.
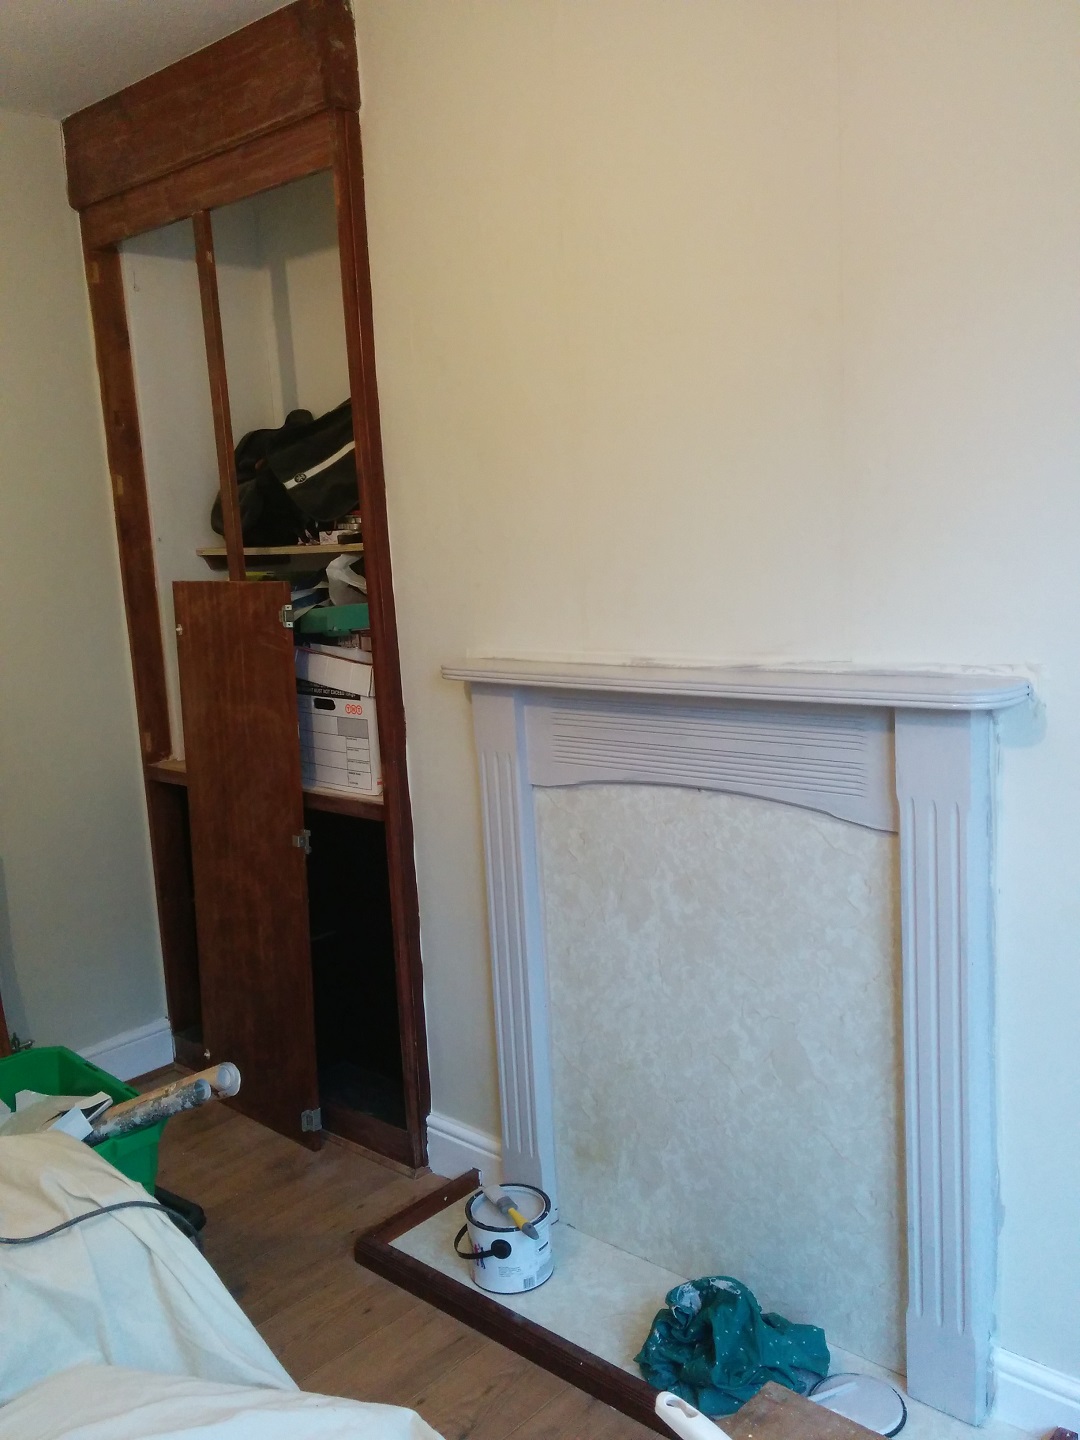 We had found a beautiful light grey colour from the Valspar range at B&Q called Anchors Away (I love the names of paint almost as much as I love the colours themselves!). After carefully masking the edges of the fireplace so not to get any on the new wallpaper, I started to lighten up the living room.
 Three coats later on the fireplace, surround and cupboard and it was already looking so much nicer! However, there was still the issue of the marble effect background that didn’t really fit with our minimalist and calming grey, off-white and green theme. Although there were hints of colour, we wanted something that would make the fireplace a focal point rather than just the telly, and as we both love the sea, and Adam works on boats, a sea chart theme seemed appropriate – plus he could get some old out of date charts from work!
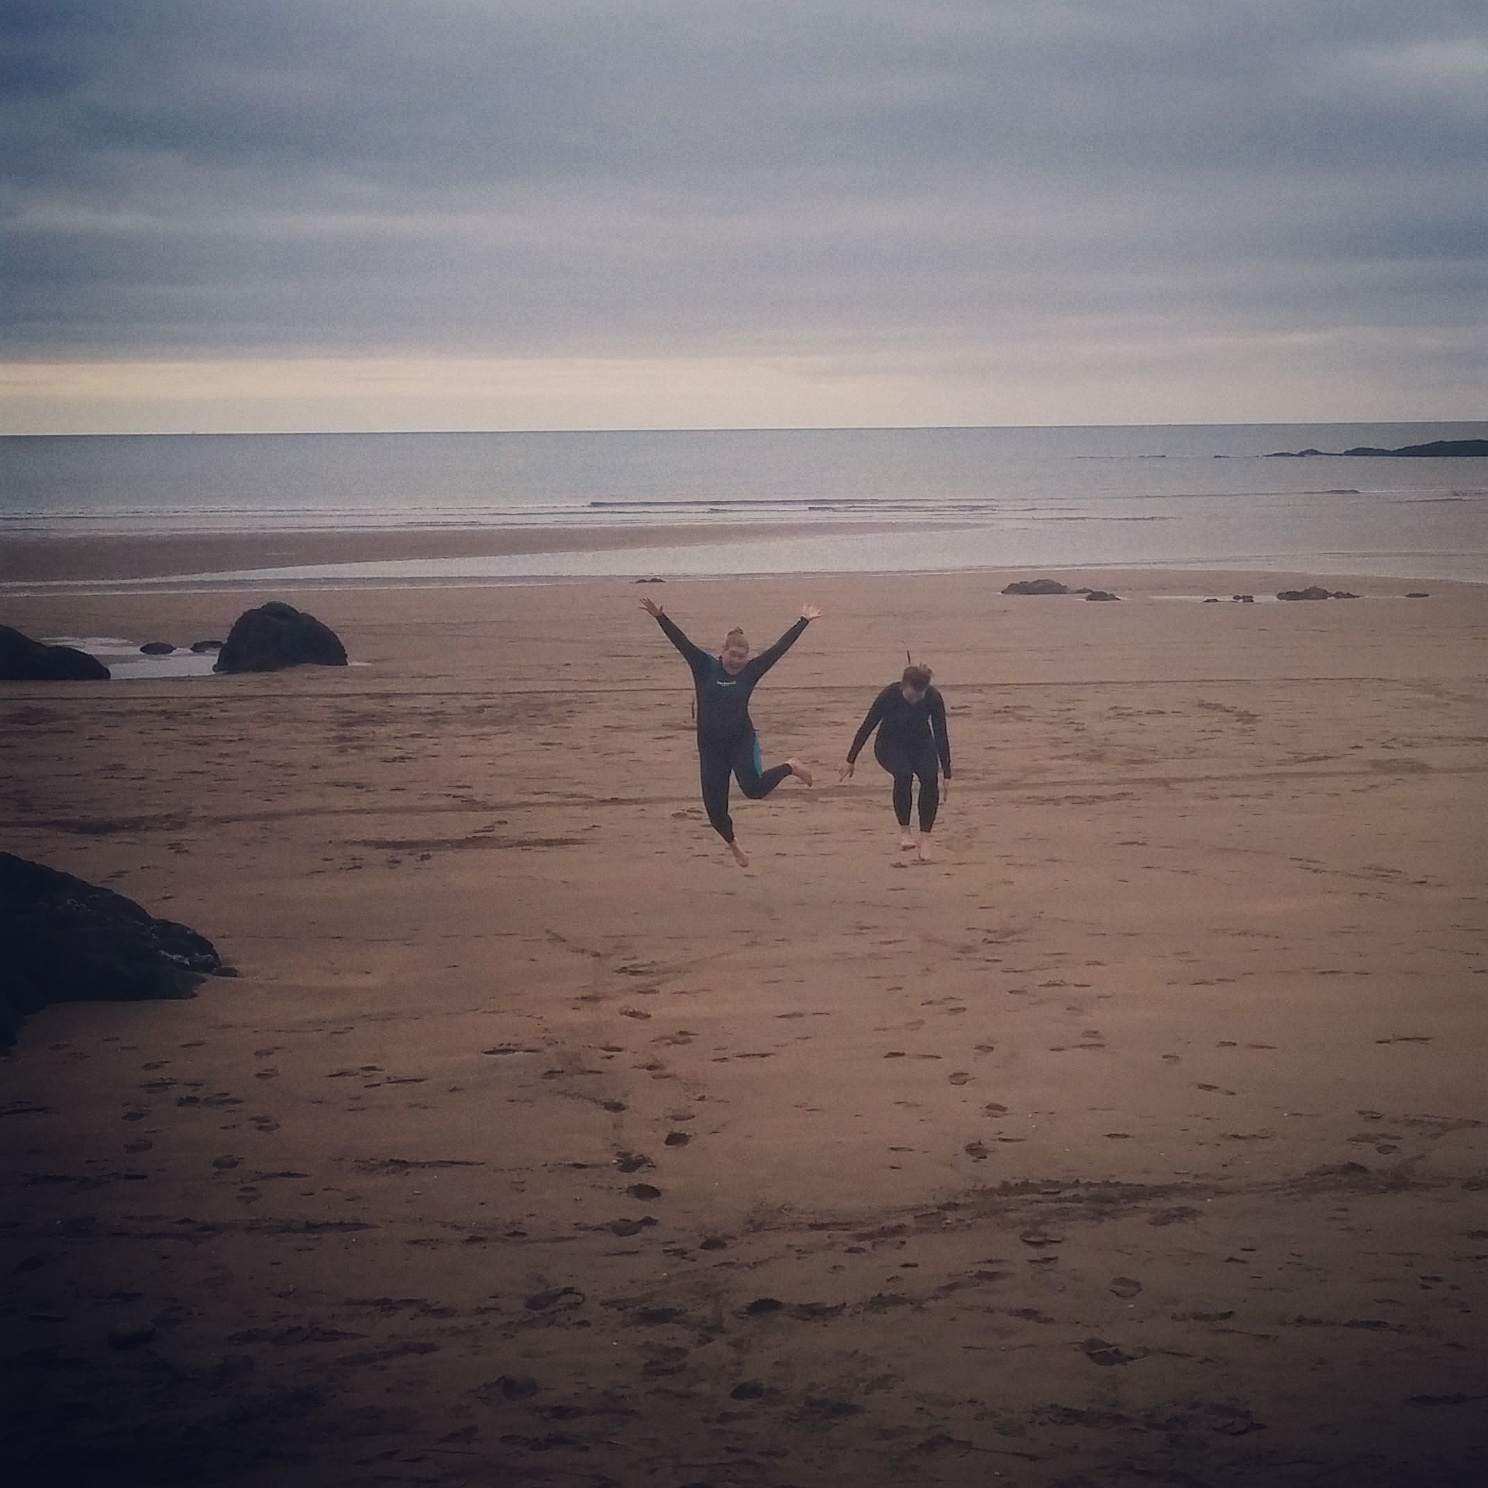
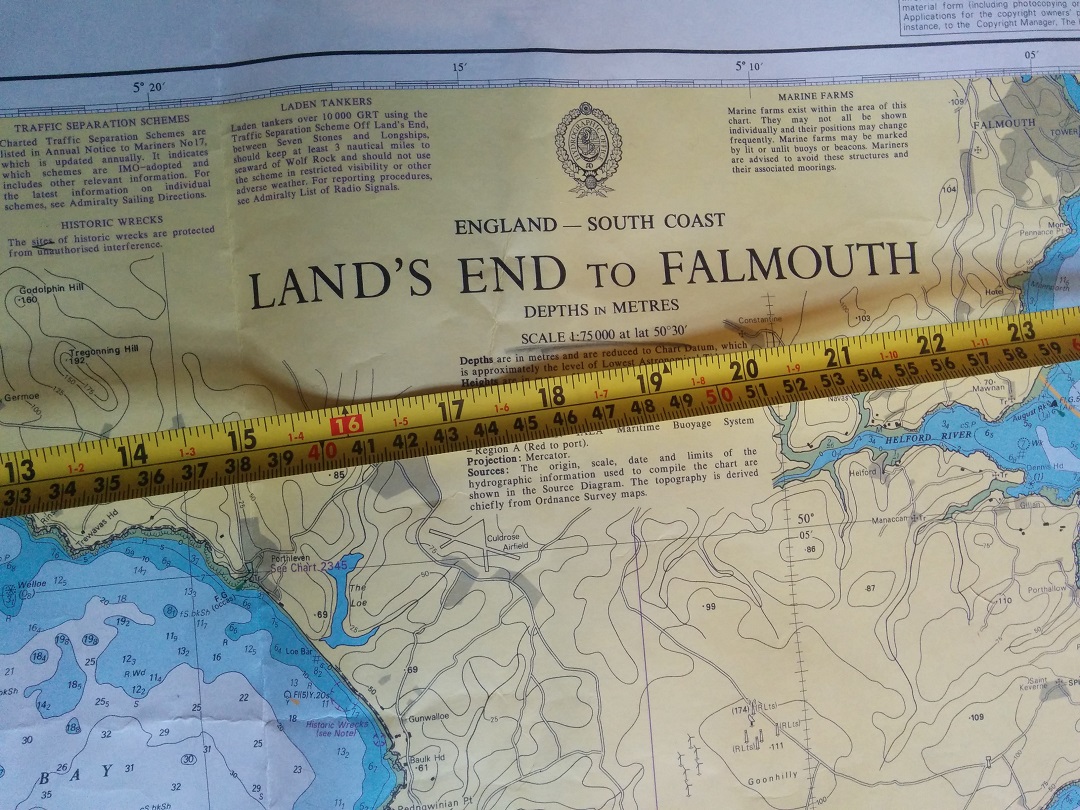
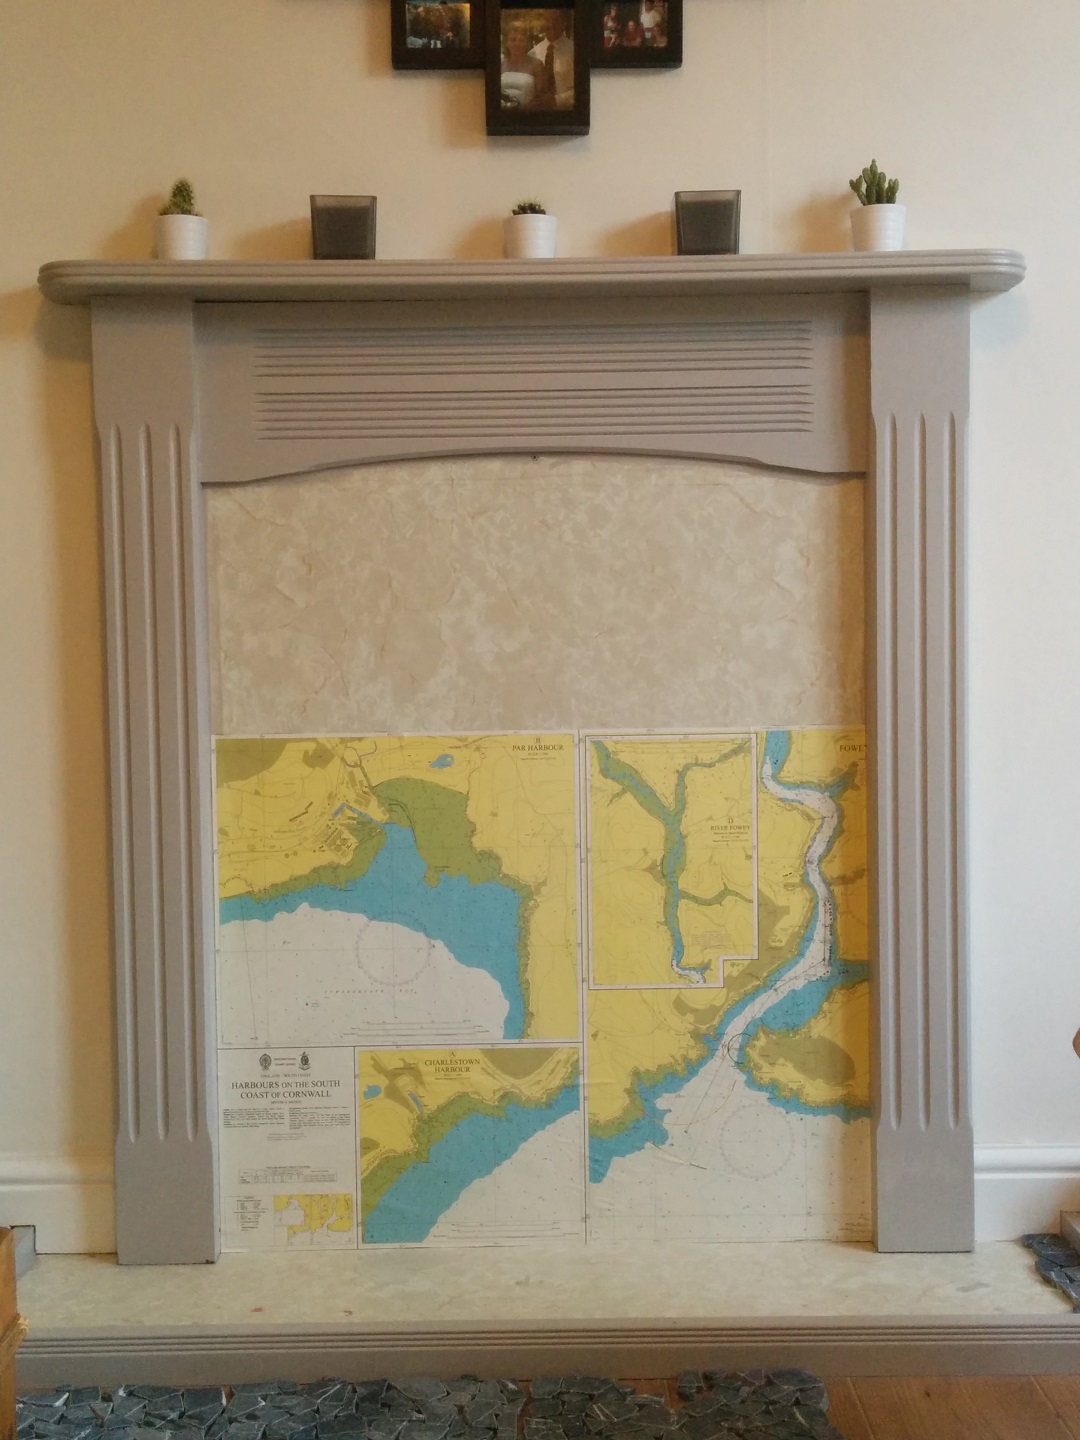
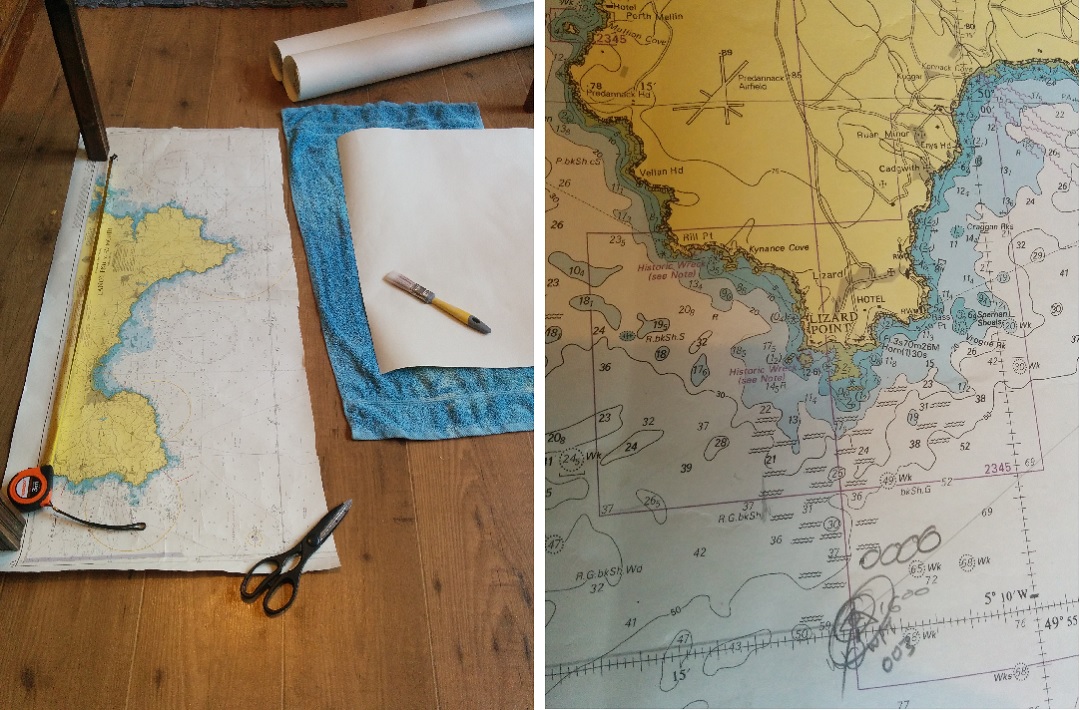 Initially we didn’t think the ones we had would work as one chart wasn’t big enough to cover the whole fireplace. But with some careful placing and measuring of the top curved section I managed to make two fit. I like that the charts still have pencil marks from where they’ve been used to navigate – it makes them feel so much more authentic! Adam wanted the chart for Plymouth sound, but we couldn’t find one to scrounge so we settled for some of my favourite places – from Lands End to Falmouth.
 Hints for wallpapering a fireplace – measure, measure, and measure again! I’m not very good at this bit usually but I knew as soon as I cut it out, that was it so it had to be perfect! The easiest way to wallpaper the edges is to stick it in the right place with the edges slightly bigger than you need, score the corners from the top of the map to make a definite line and then peel back the paper and cut along the line. Much easier than trying to measure it with a tape measure before it goes on the fireplace.
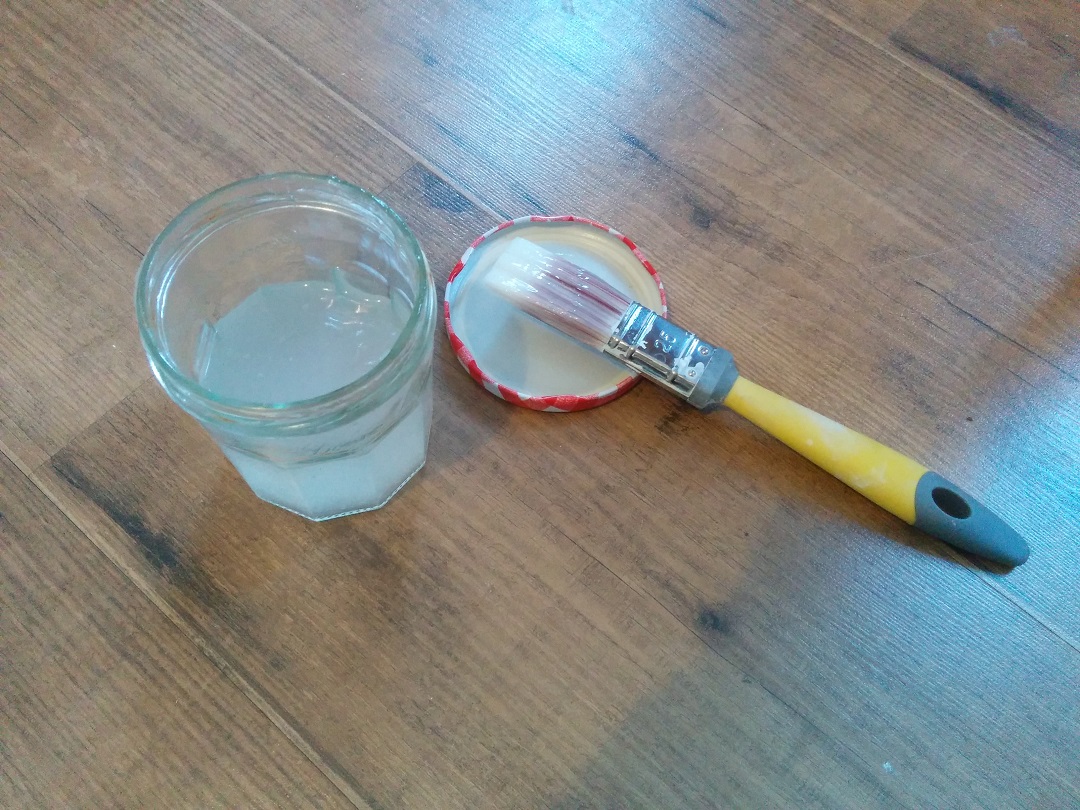
Also – use LOTS of wallpaper paste. The best way to get the paste to stick is to slather it on generously all over and then leave it for a few minutes to let it soak in before sticking it up. To smooth out any bubbles use a slightly damp sponge and smooth from the centre outwards to the edges. With actual wallpaper on walls you’ll still get a few bubbles but often these disappear when it dries.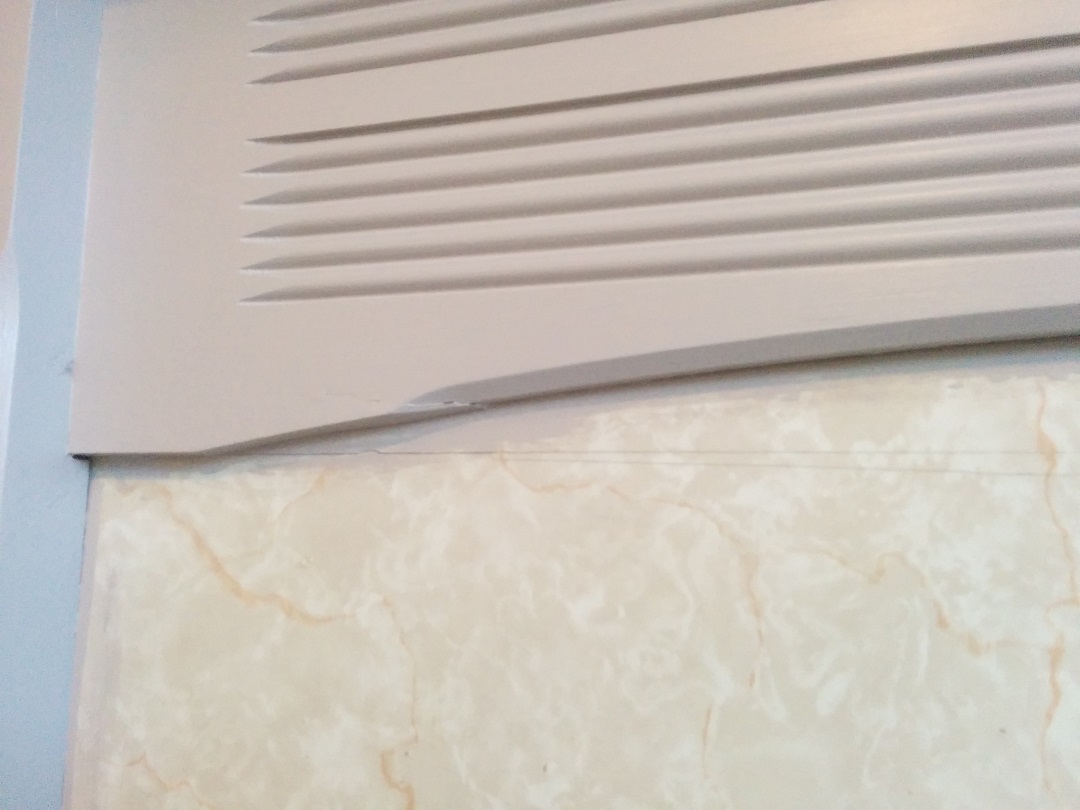 The top of the fireplace is curved which proved slightly more tricky. I measured from the straight bit to where the curve started and made an incision on my paper that deep before sticking it up and scoring a fold so I could see where to cut. Make sure you press the paper quite hard into the edges of the fireplace else you may cut it too short and then you’re buggered.
 There you are, one papered fireplace. I thought it looked a little odd at first with the two charts, but as soon as you put the extra little nick-nacks in the heath and fill it up a bit, it all blends in just fine. We’ve had some great comments from everyone that’s visited so far and I can imagine it would work really well for any sort of wallpaper in any shaped fireplace that has been boarded.

Where to find the bits we used for this DIY:
I Paint I Maps (similar) I Tiles I Cacti I Grey Candles I Centrepiece I Wine Bottle Candle I