
DIY || The Garden
If you saw my post of the Lovely Things from July, you’ll know we’ve put the flat on the market! Which also means another great thing, in the fact that we spent the weekend hurriedly completing all of the little DIY projects we had left – including the garden!
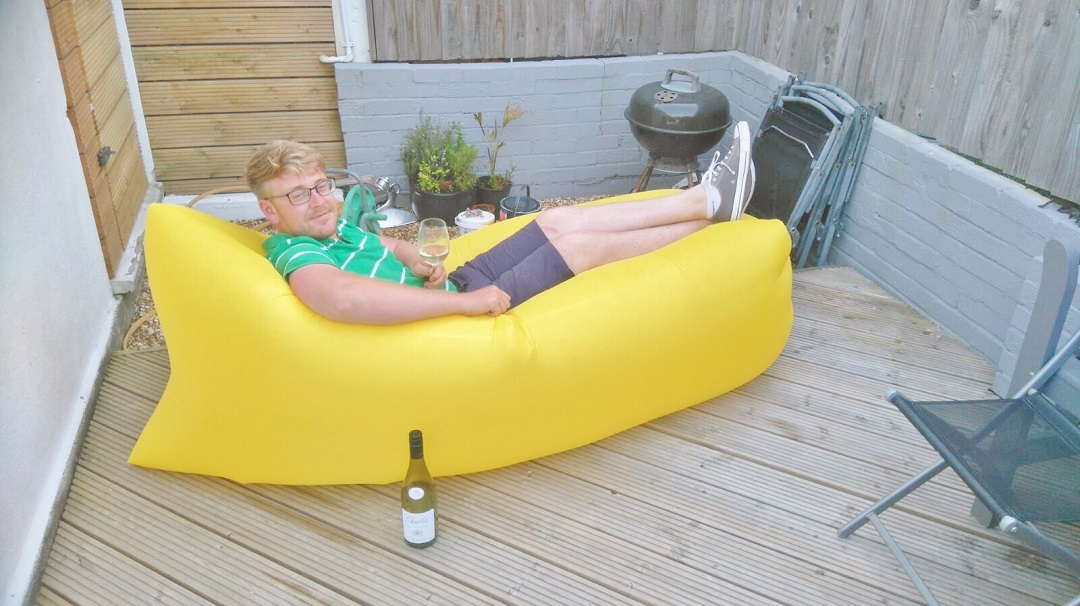
Seeing as the garden project started way back in May 2015, it’s so good to finally get everything done that we’d planned. Even though it’s been a long project, we had most of the main part finished last summer, and so have been able to enjoy time spent on the decking, having BBQs and eating al fresco. Though from start to finish, it may not seem like that much, but the number of hours we’ve put into it, especially Adam, is unbelievable! Plus, for complete novices, I feel quite proud that it turned out so Pinterest worthy!
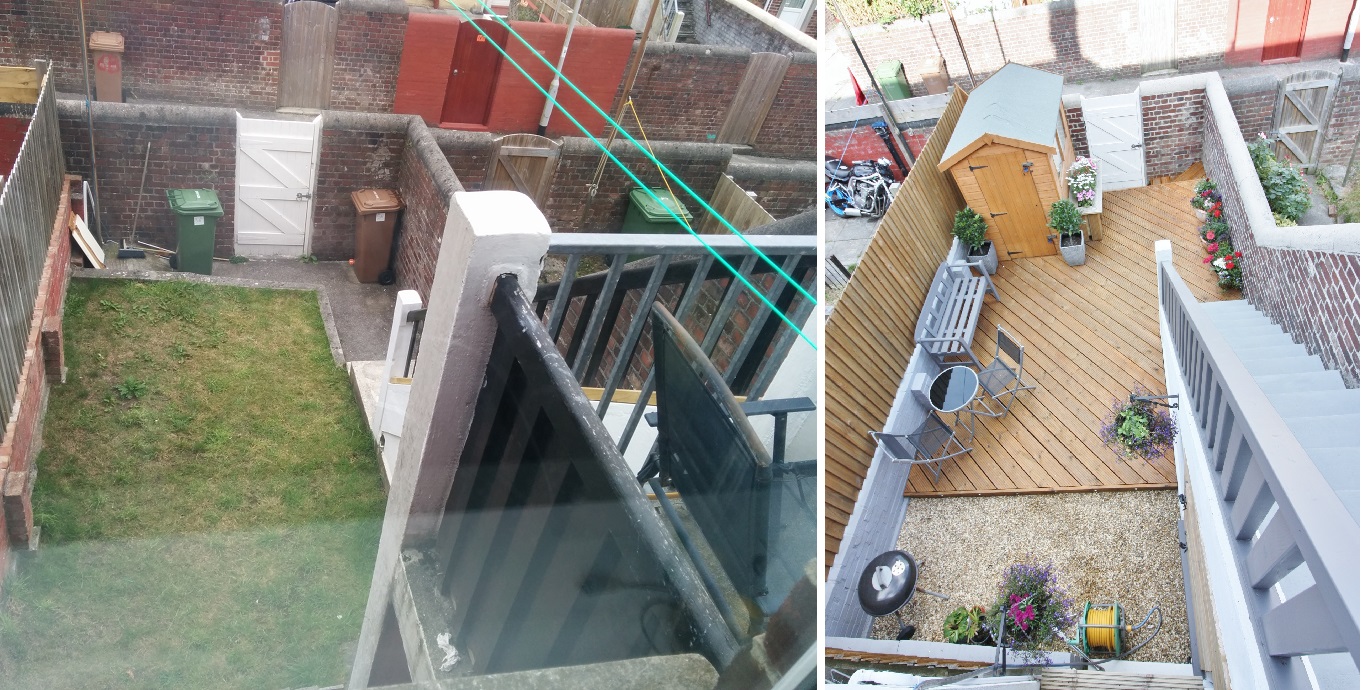
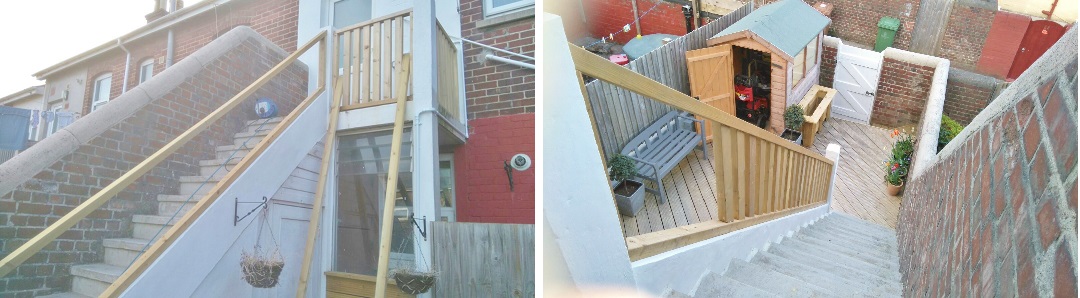
First things first, this is how it used to look in the photos provided online when the previous owner was selling…

It was pretty unusable in it’s current state, Adam’s tools were everywhere in the house with the lack of storage space and the grassed area was so small we felt it barely warranted getting a lawn mower. So we set out to make it a space to be proud of and step by step taught ourselves how to DIY a garden.
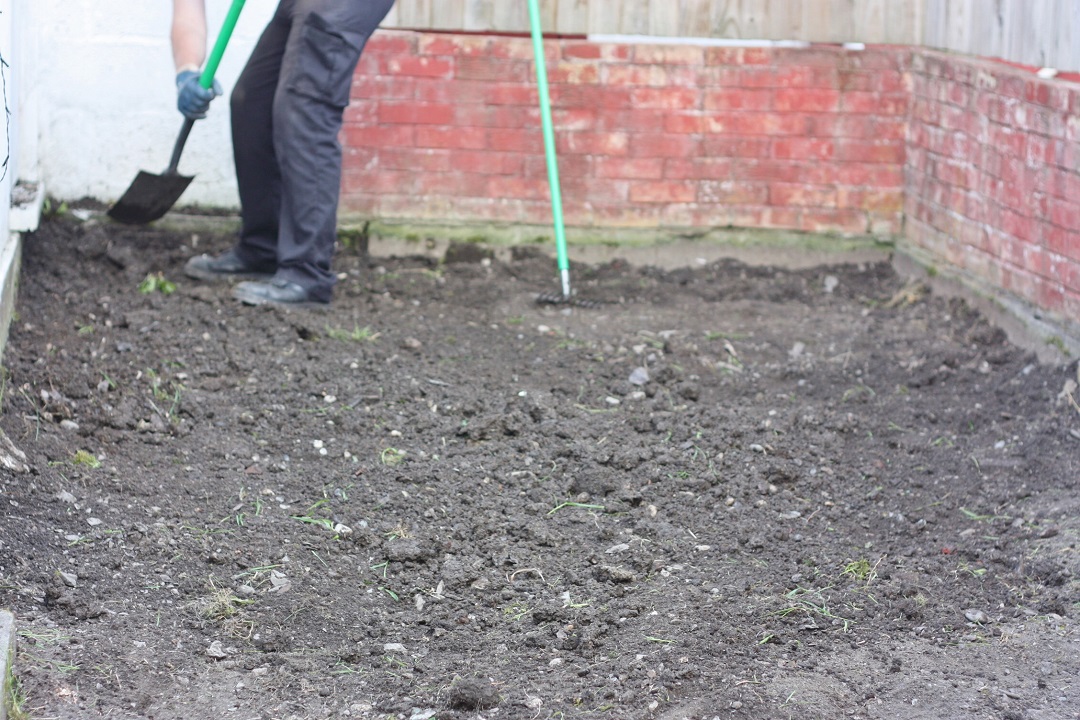
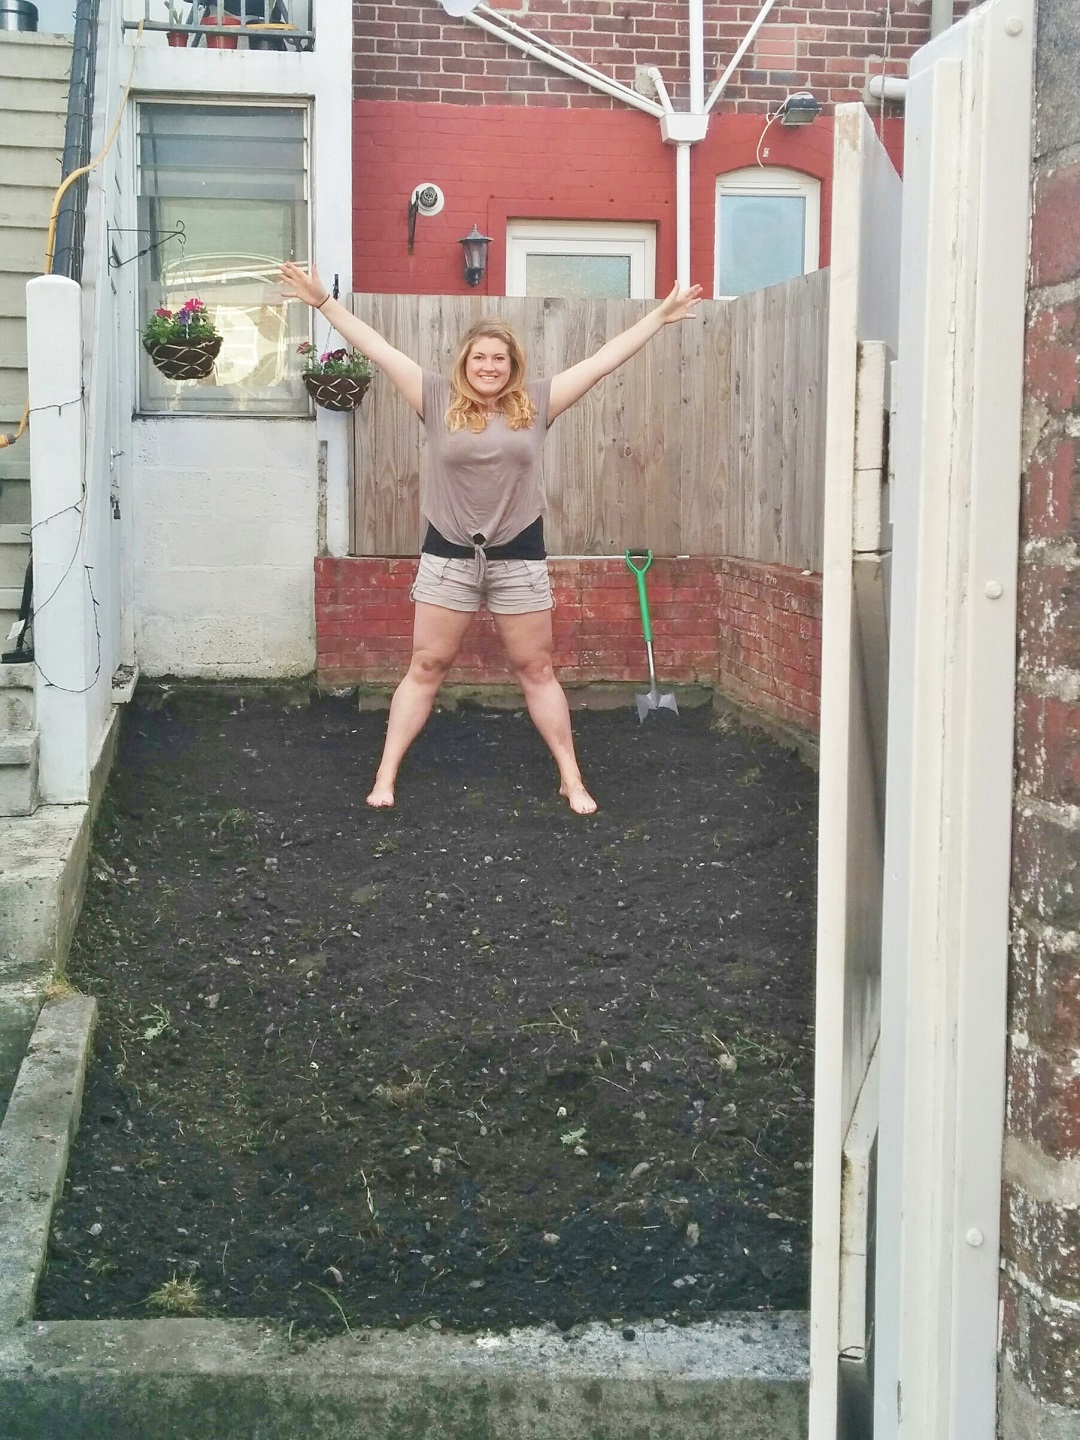
First things first we took the turf up. When I assumed it would be as easy as it seemed, with just two shovels, a load of black sacks and elbow grease, it wasn’t. Whilst it was a satisfying job, turf weighs and absolute tonne and can be surpringly stubborn. Still, with the soil bare, that first job felt great to complete and gave us a blank canvas to start the building works for the decking.
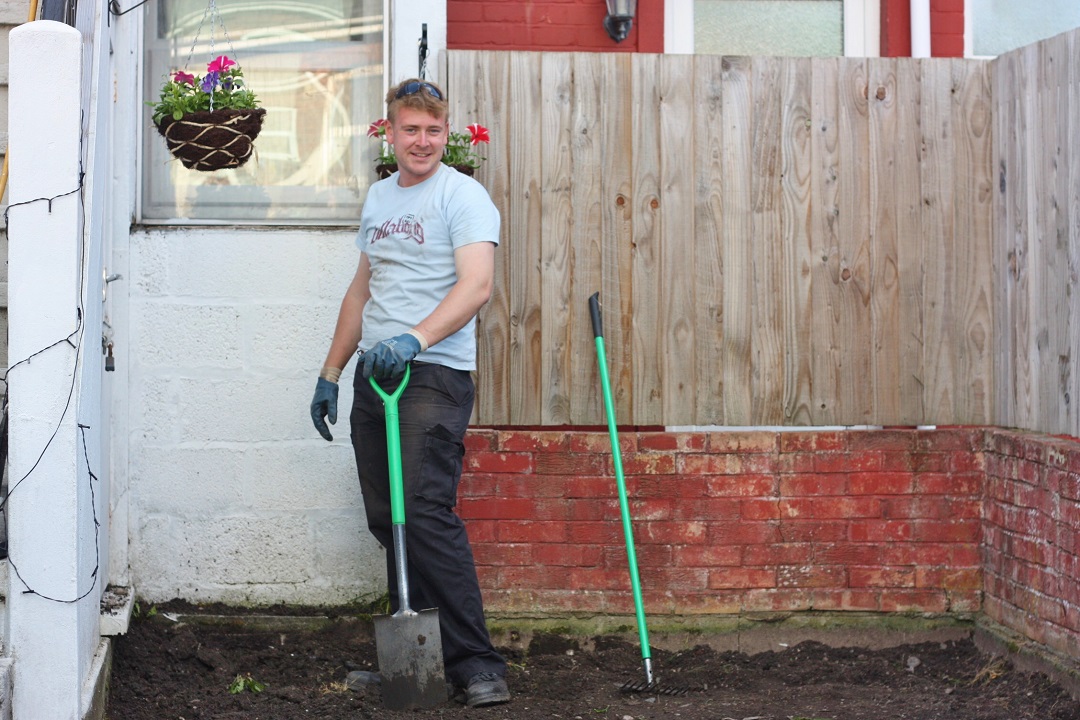
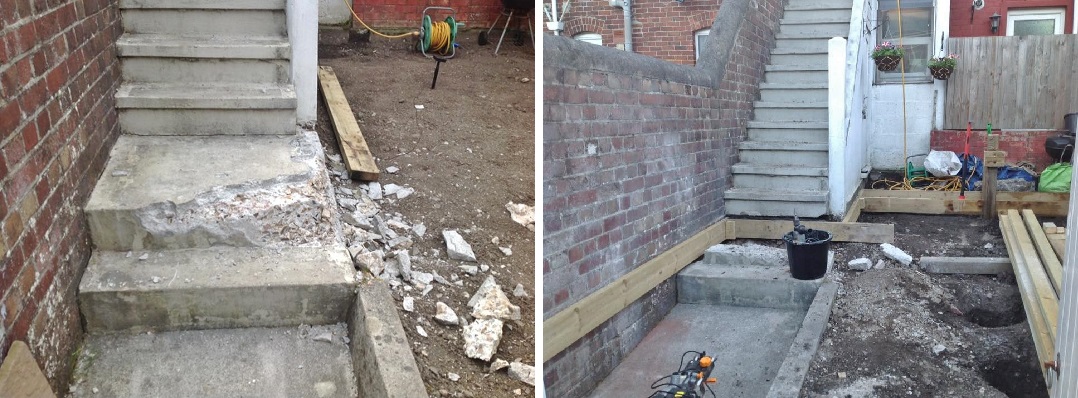
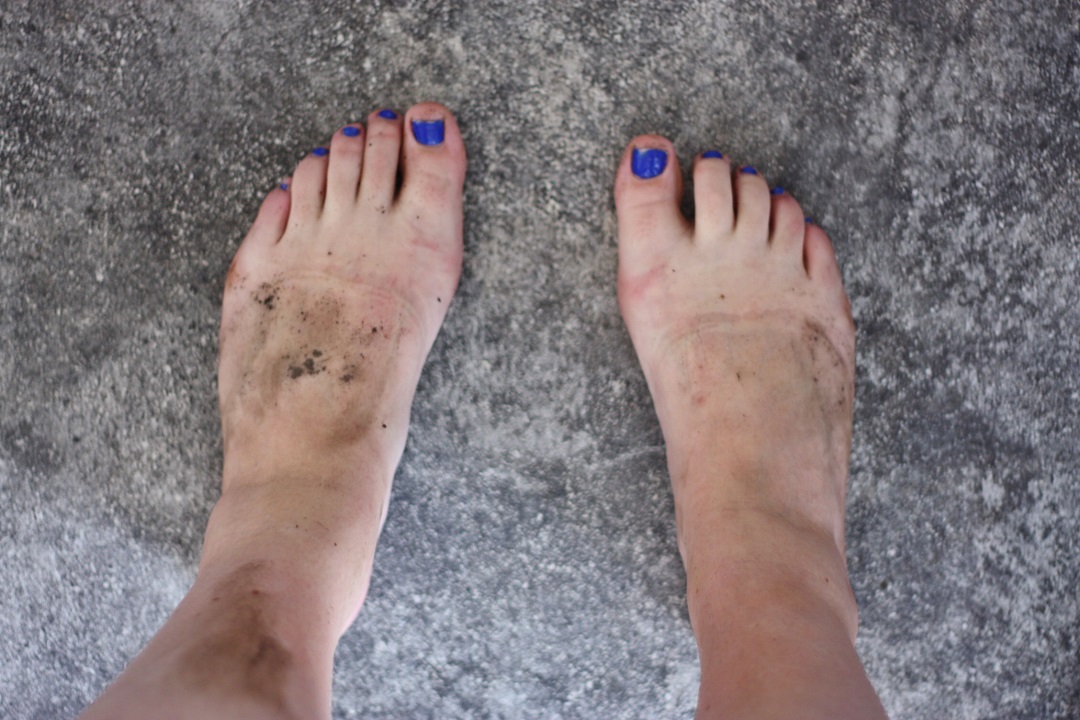
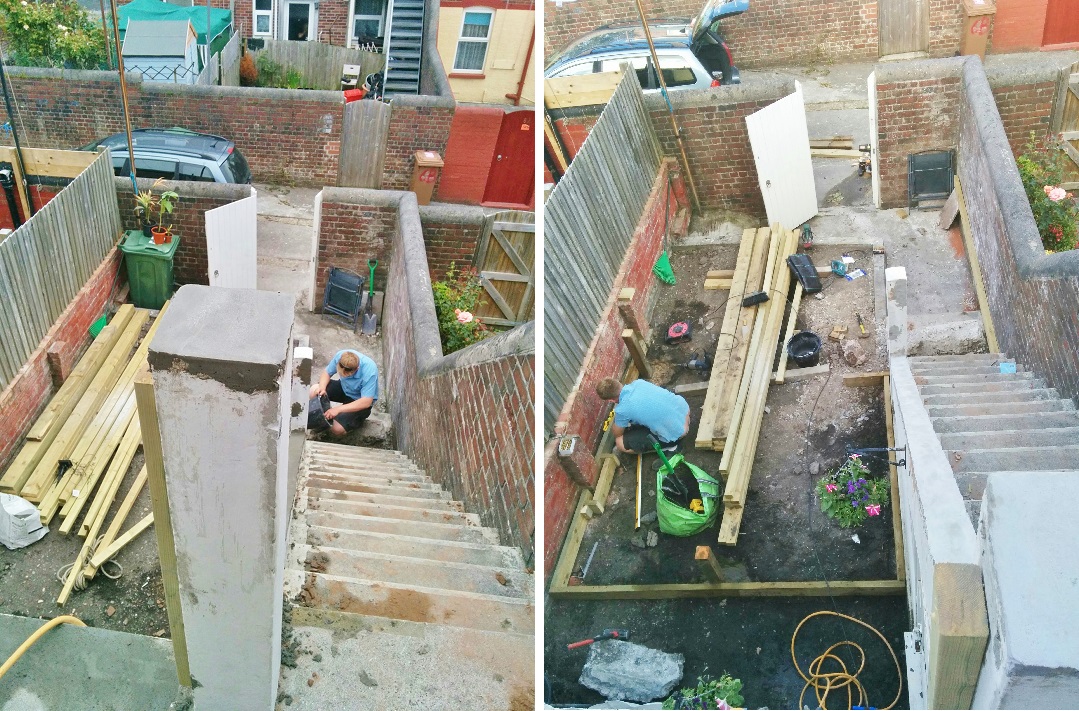
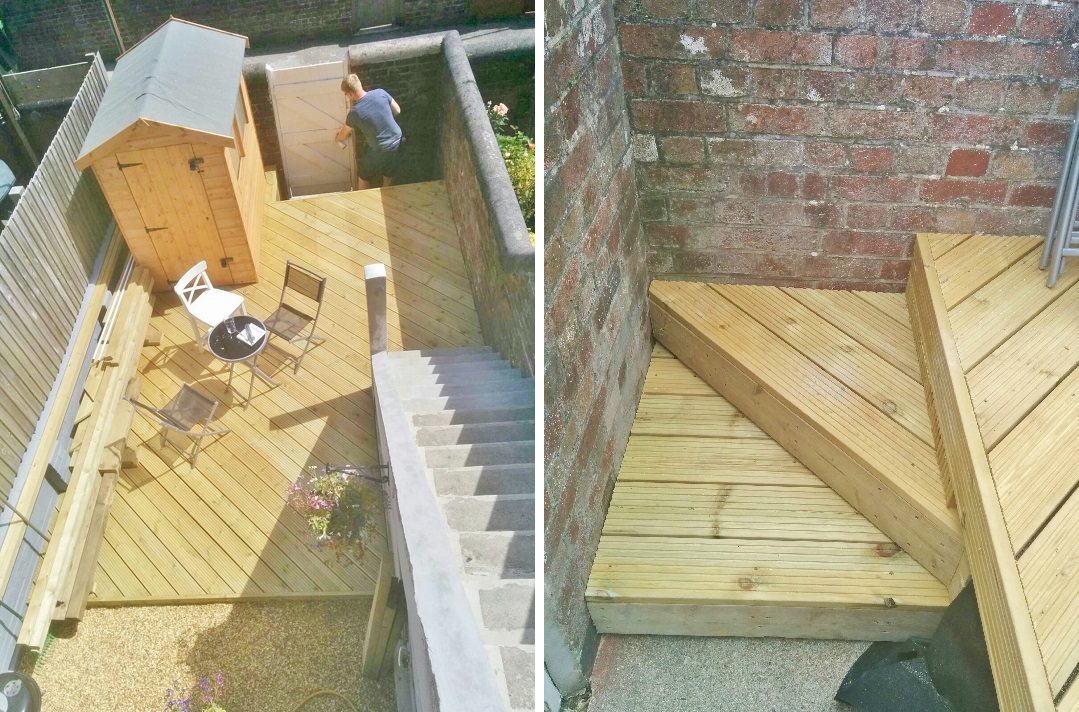
One of the most irritating things about the garden was that, whilst it is quite a decent size, with the odd concrete box containing the grass, the huge steps on different levels and sloping concrete paths either side, there actually wasn’t much room. Plus, to fit within permitted development, the decking had to be below a certain height and in order to fit the decking frame around that, the bottom step had to come out. Once again, not the easy task we expected. Even enlisting Adam’s cousin who’s a builder to come over with his big ass machinery and angle grinder to cut through the stubborn concrete took him longer than he’d expected. Still, with that, some huge wall anchor bolts and a lot of reference to the spirit level, we managed to screw the basic frame securely to the perimeter. There were also some hefty holes to be dug in the stubborn soil for the central posts, and regardless of wearing shoes the entire time, I still ended up filthy!
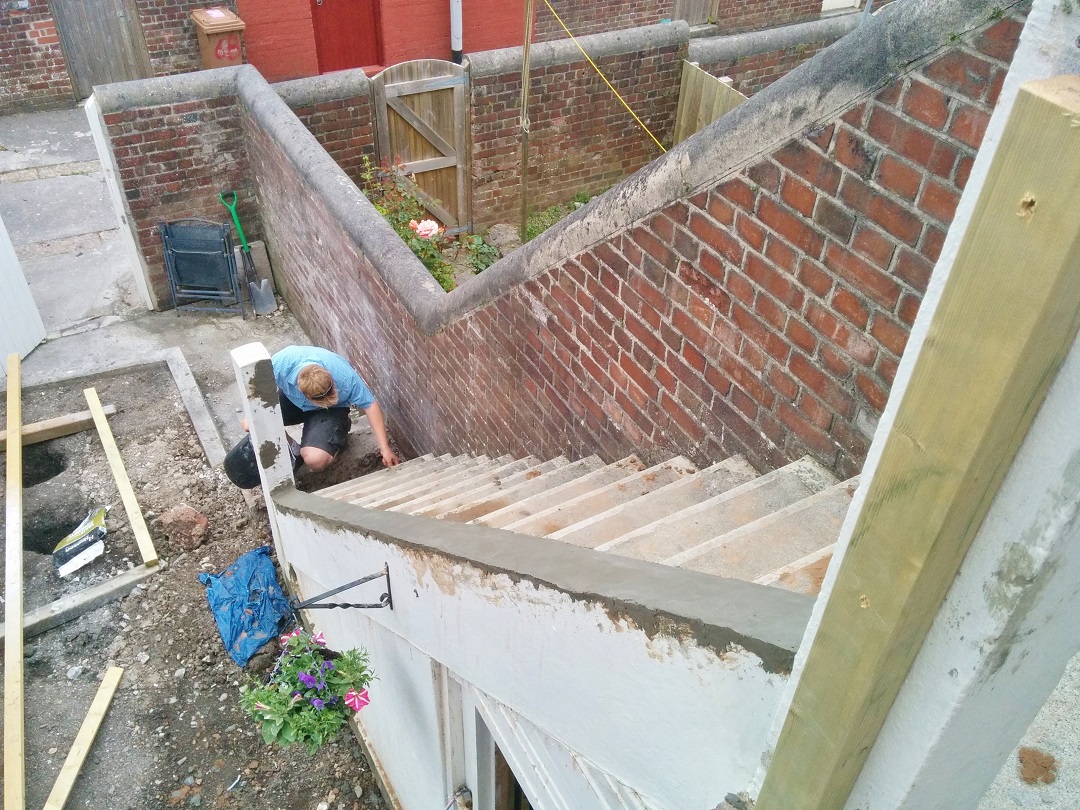
The railings around the balcony and banister down the stairs were mismatched and rotting in parts, so they all came completely out, followed by our first attempts at cementing. As it turns out, it’s actually not that different to icing a cake and I found it quite a satisfying job, that is, until the next morning when it scraped off like powder and we’d obviously done something seriously wrong! You’ll be relieved to know take two was far more successful!

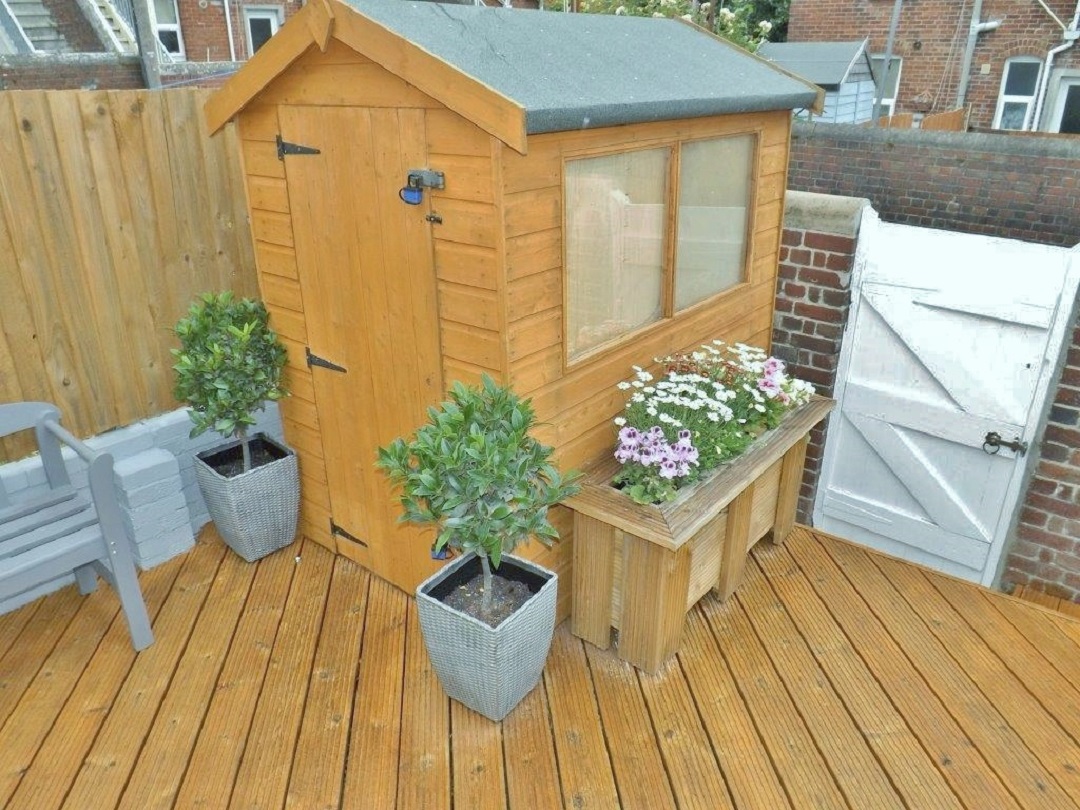
With the frame up and taking shape, the next step was the very much needed shed, which in itself was a palava to order and required multiple trips to Totem timber! Building a shed is really quite fun, especially as it comes flat packed and is like building IKEA furniture, but with screws rather than allen keys (FAR more sensible!). Plus I had a great time standing on the wall leaning over the roof to nail down the felt! Whoever thought climbing on roofs and waving your bum at your neighbours would be so entertaining?!
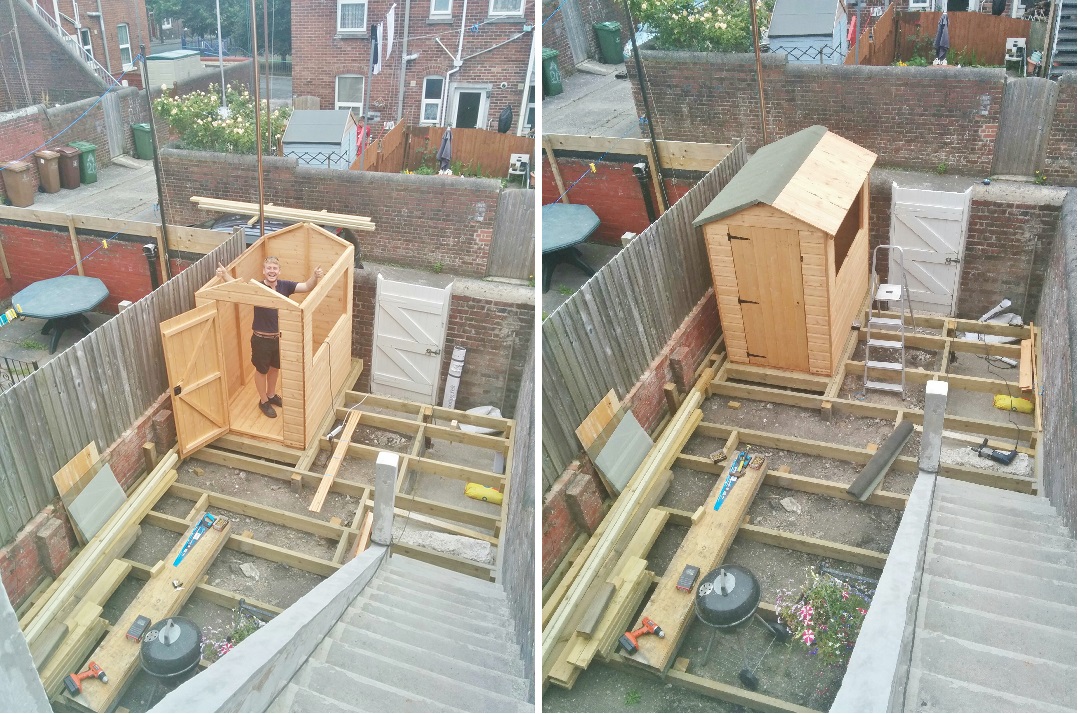
To protect from weeds we laid down matting across the whole frame and at the end of the garden where the gravel would now go. Luckily we got that on freecycle from a family who’d ordered too much for their own garden and Adam made multiple trips back and forth to bag it up. A word of advice for if you’re ever moving gravel – USE RUBBLE SACKS! Clearing out gravel from the boot of your car for weeks on end after a split bag is not the one. Plus, with the gravel in, we could actually start laying the deck!
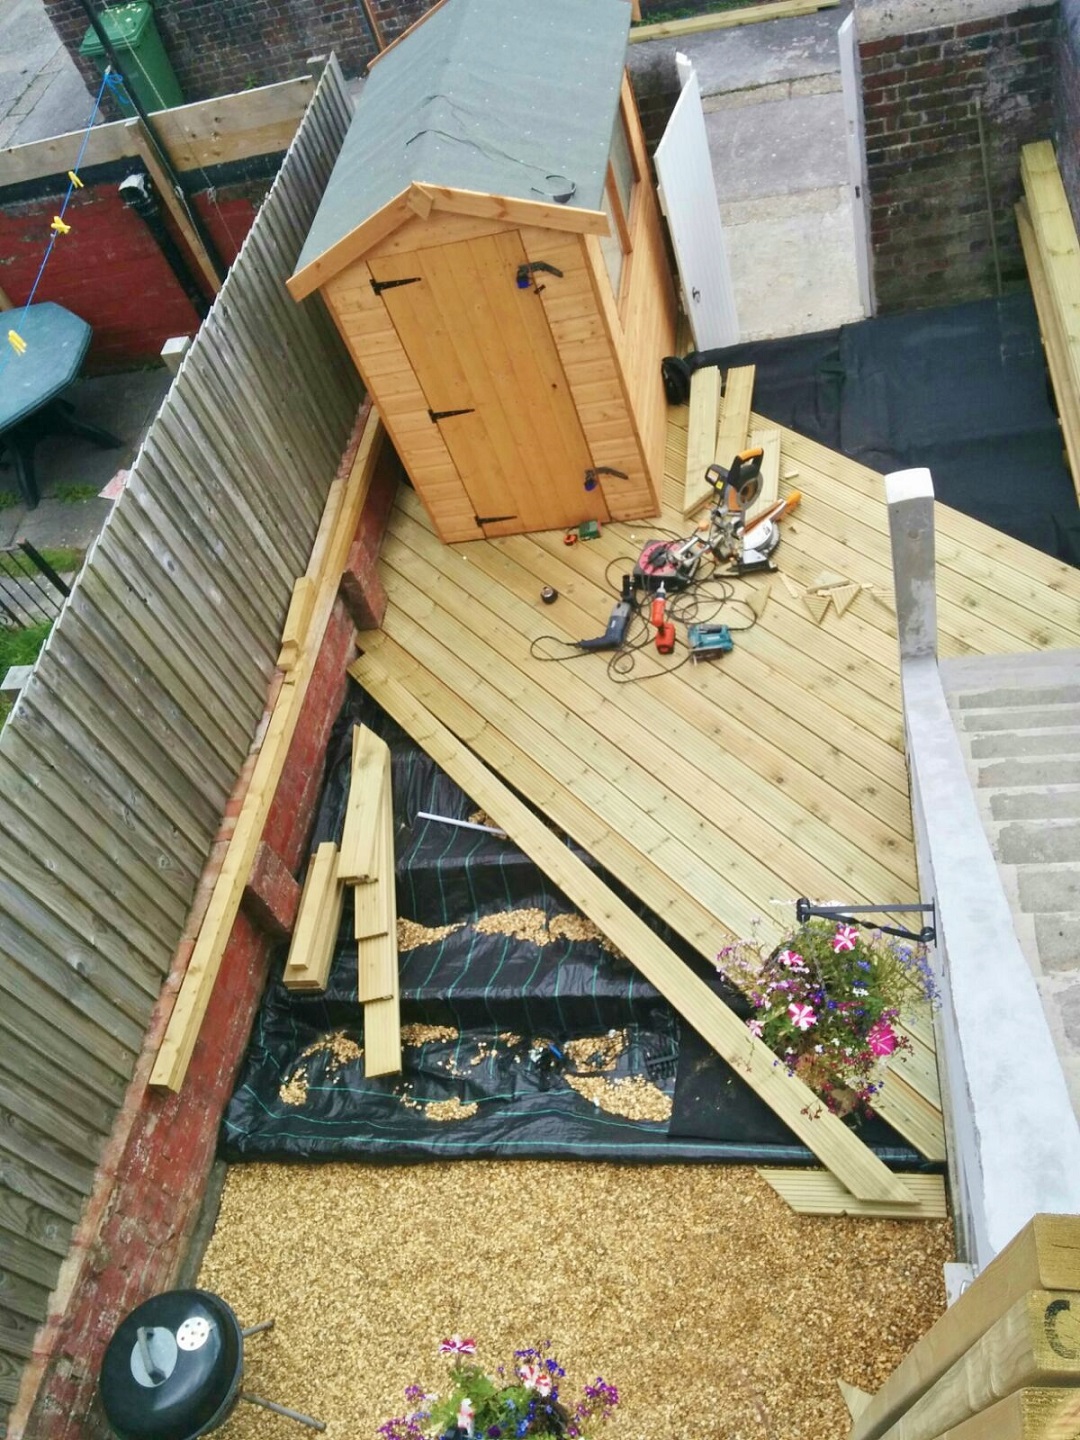
Getting into the rhythm of measuring, cutting, cursing when you had cut the opposite angle, recutting and screwing down wasn’t a bad task. Definitely made better by two of us doing it. Especially with the help of many tiny stolen pencils. No judging.
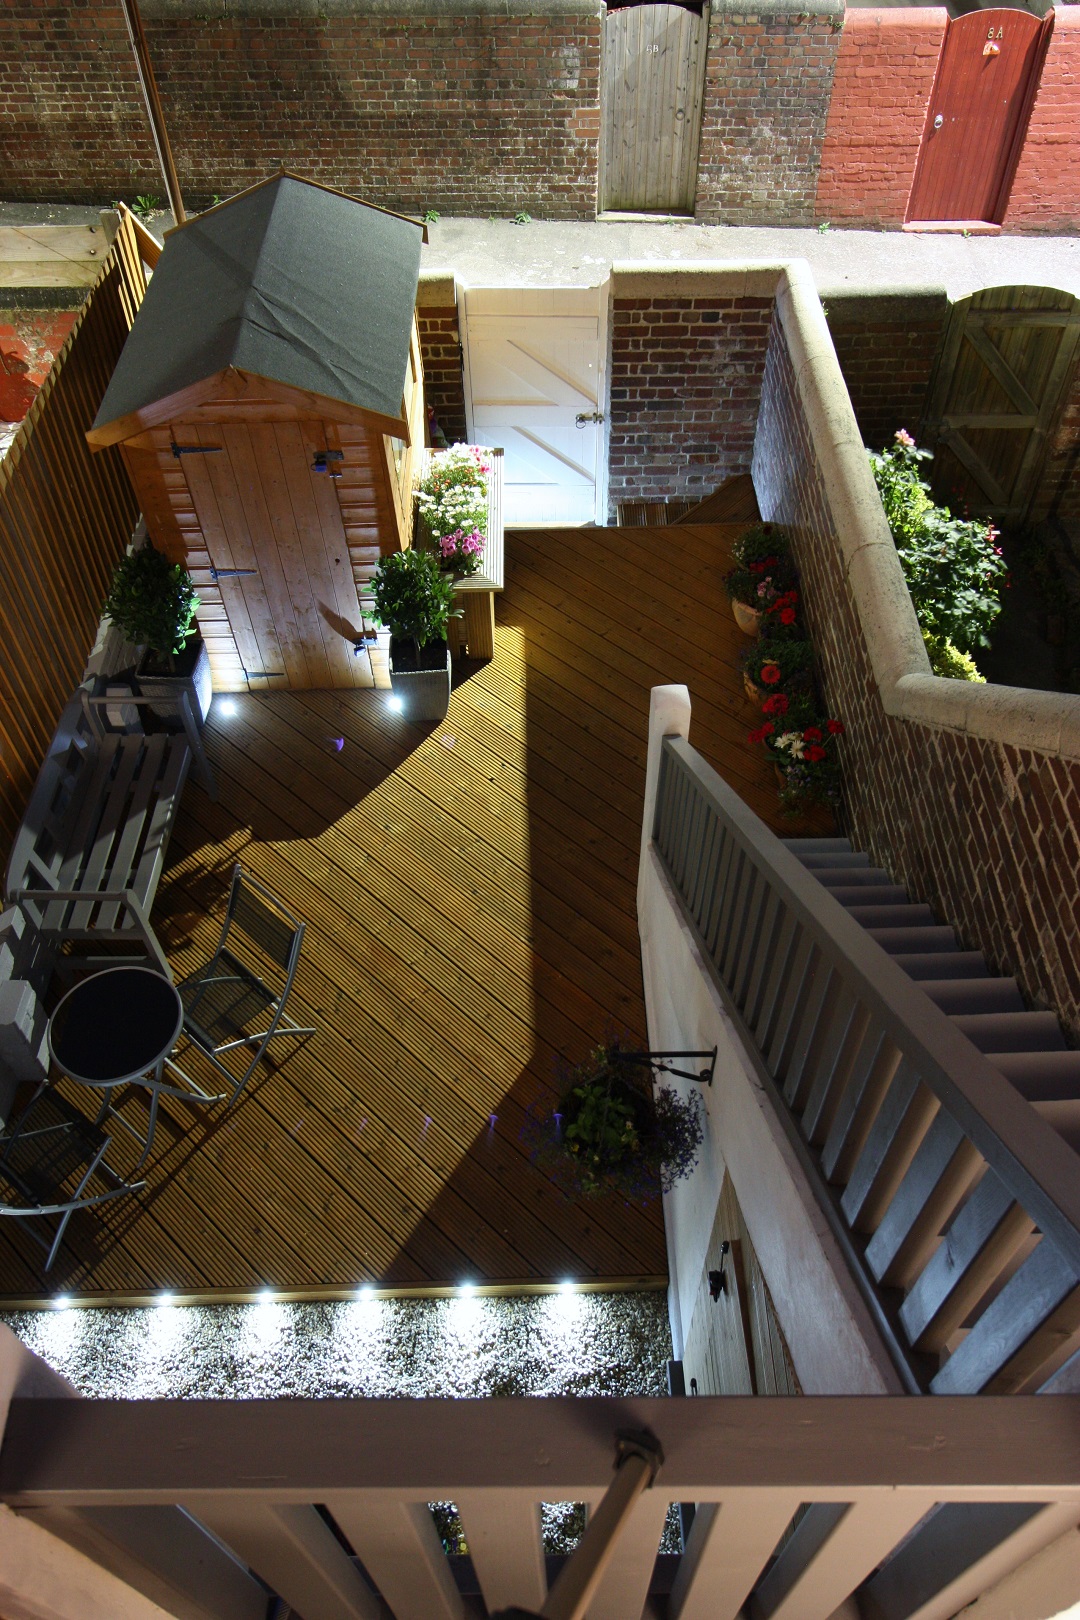
One of the best things we installed was garden electricity, adding a double plug outside the kitchen and running cables through the garden to the shed, as well as under the decking into LED lights lining the gravel, lighting up the shed and steps to the garden gate.
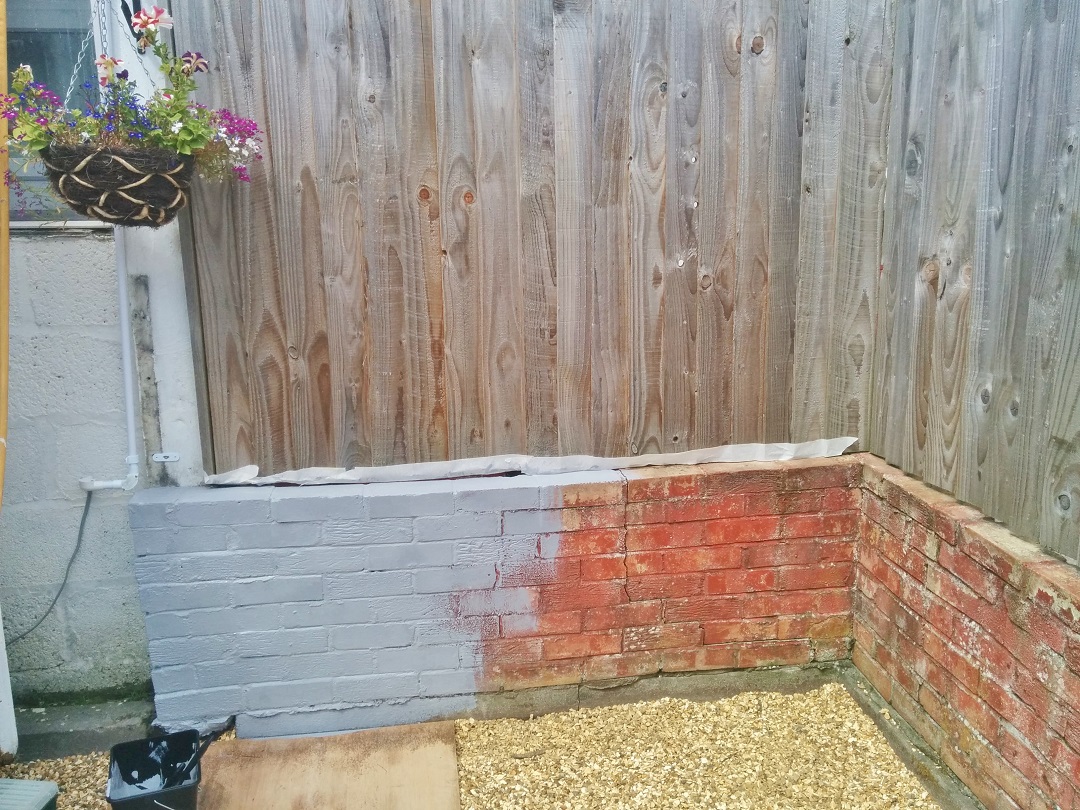
As soon as the decking had taken shape, it gave me the excuse to start painting the mismatched brick dividing wall too, and we chose a light grey masonry paint to brighten it all up a bit. It’s definitely not purple, ok?!
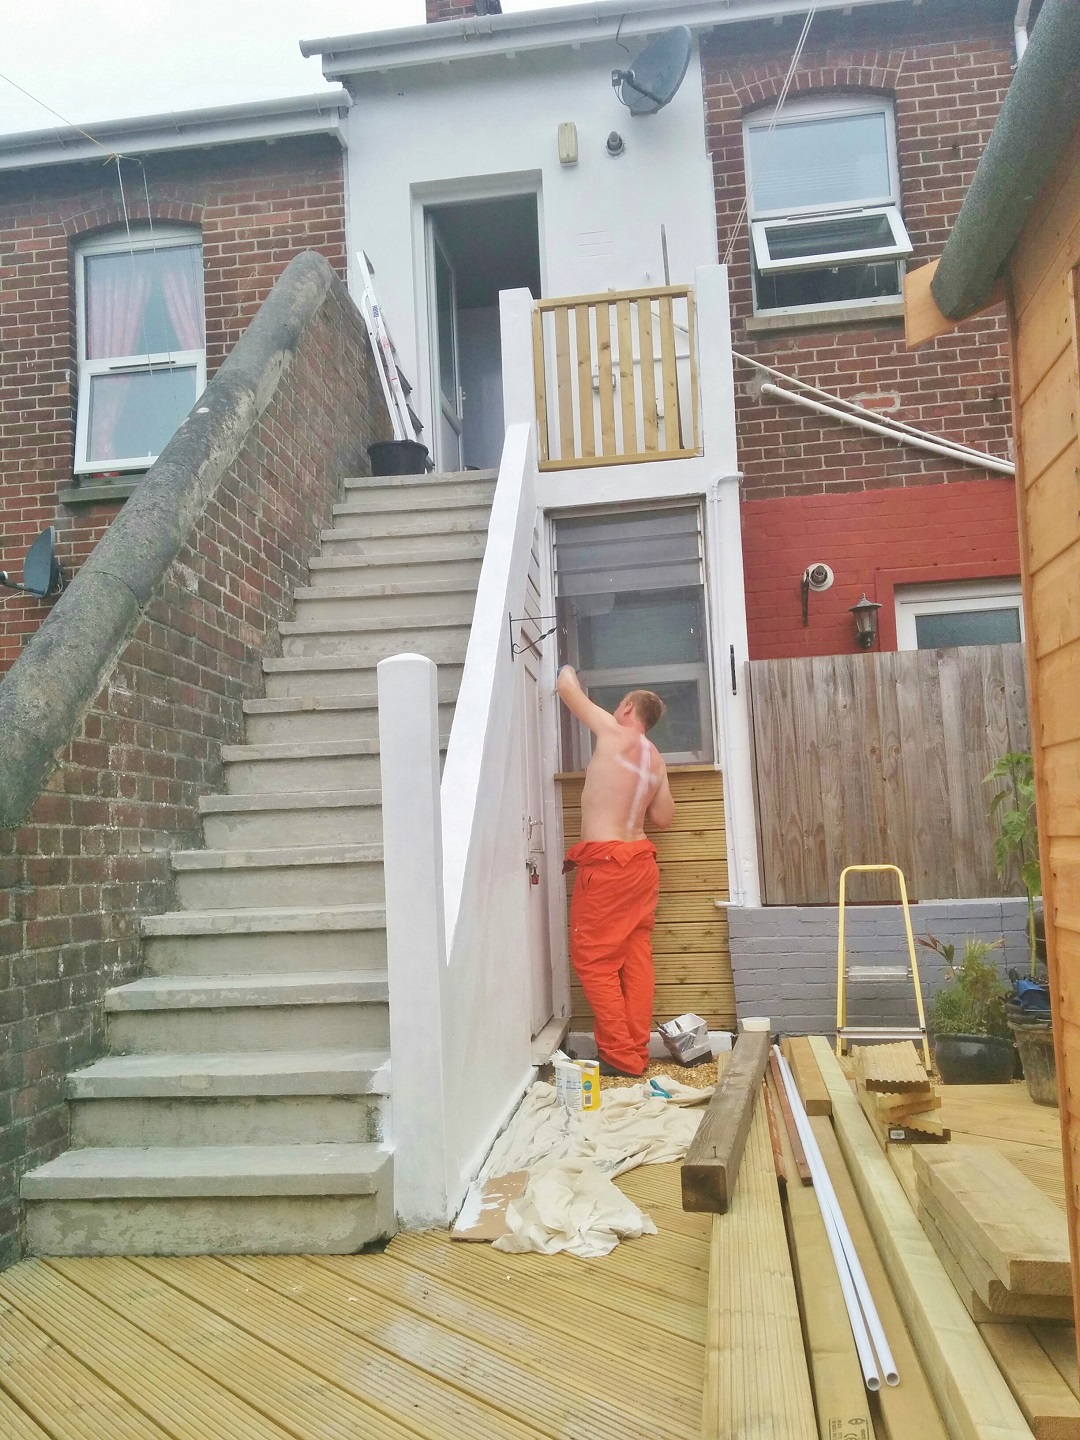
With the brick wall painted, the balcony was redone, saving my wobbly legs from mild panic every time I stepped out of the back door into the garden. We also took the opportunity to angle grind the stairs to get rid of the years of grime and painted grip lines on them. A job for me to complete, as since trying to chop off his leg when angle grinding the front step, Adam is no longer trusted with the angle grinder!
A fresh coat of white paint goes a long way to making the outside of the house look a lot fresher, and we added under the window to cover the breeze blocks.
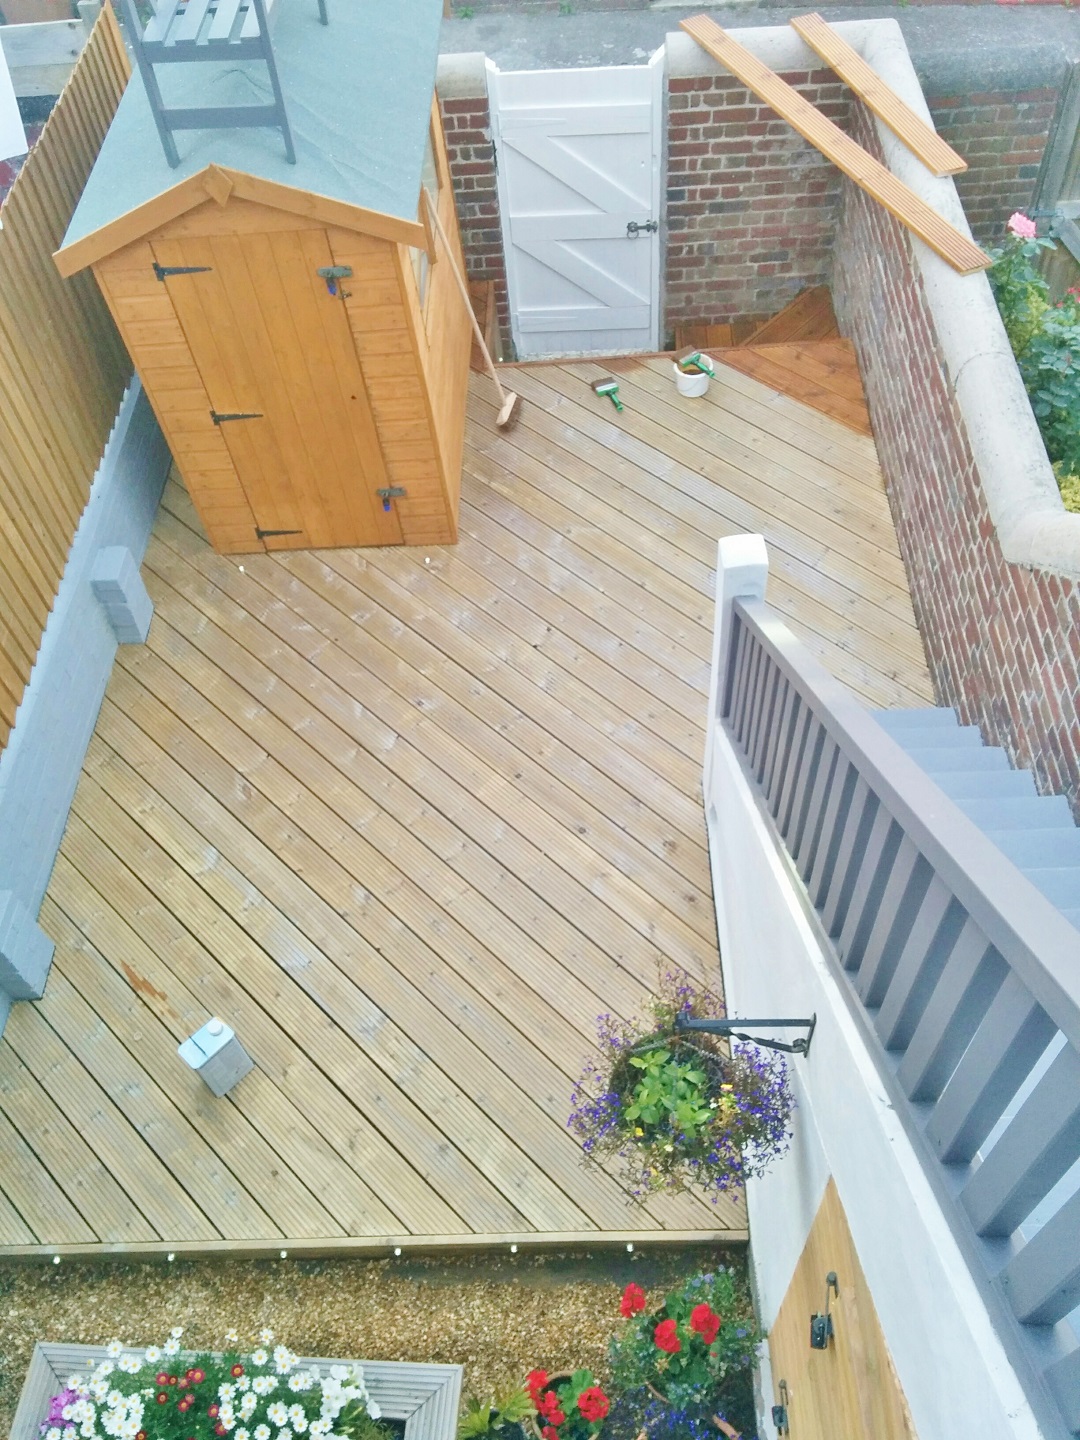
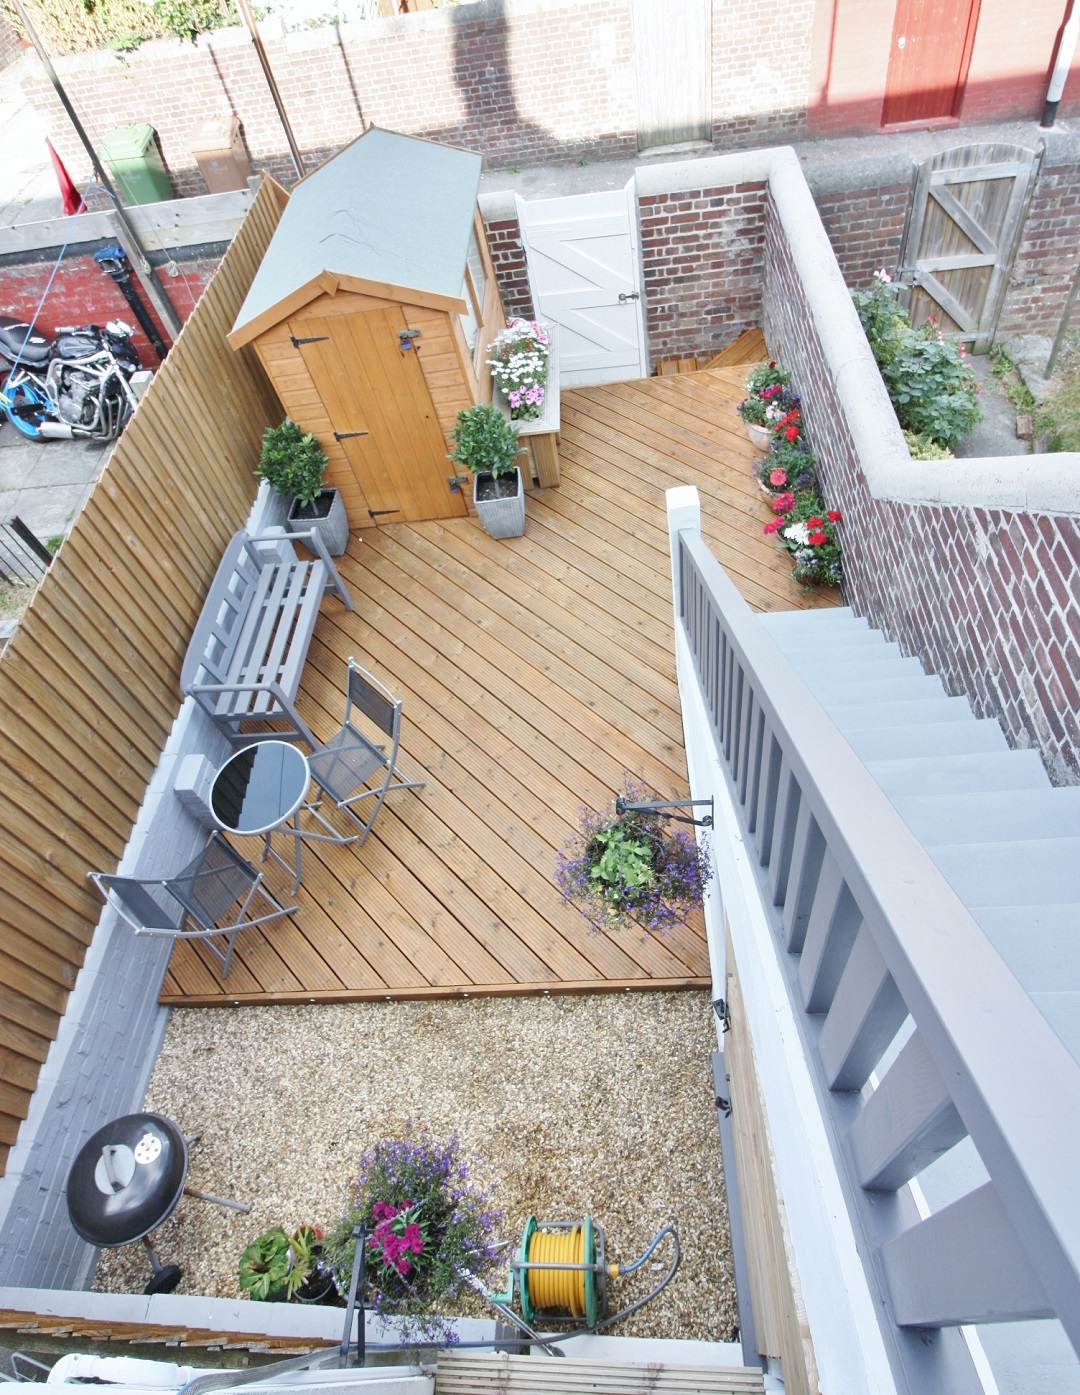
Then before we knew it, finally, the main part of the decking was complete!
This is admittedly where the garden stayed over most of the summer. We were happy with it, we’d worked hard, and it suited us perfectly once we’d cleared away some of the extra wood lying around.
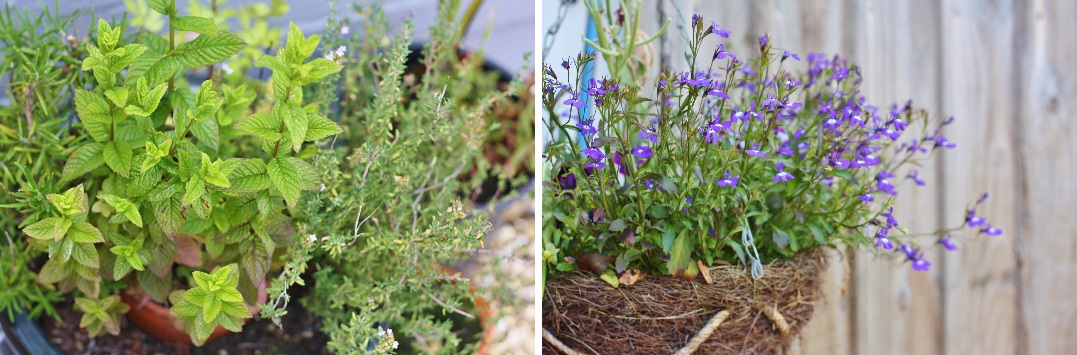
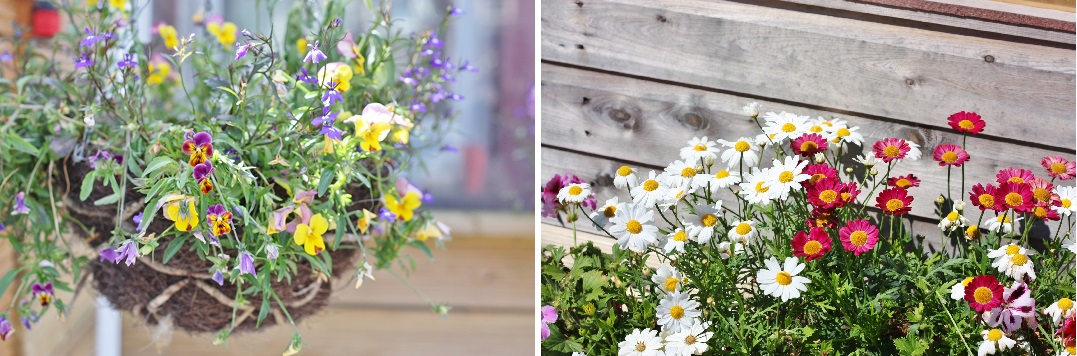
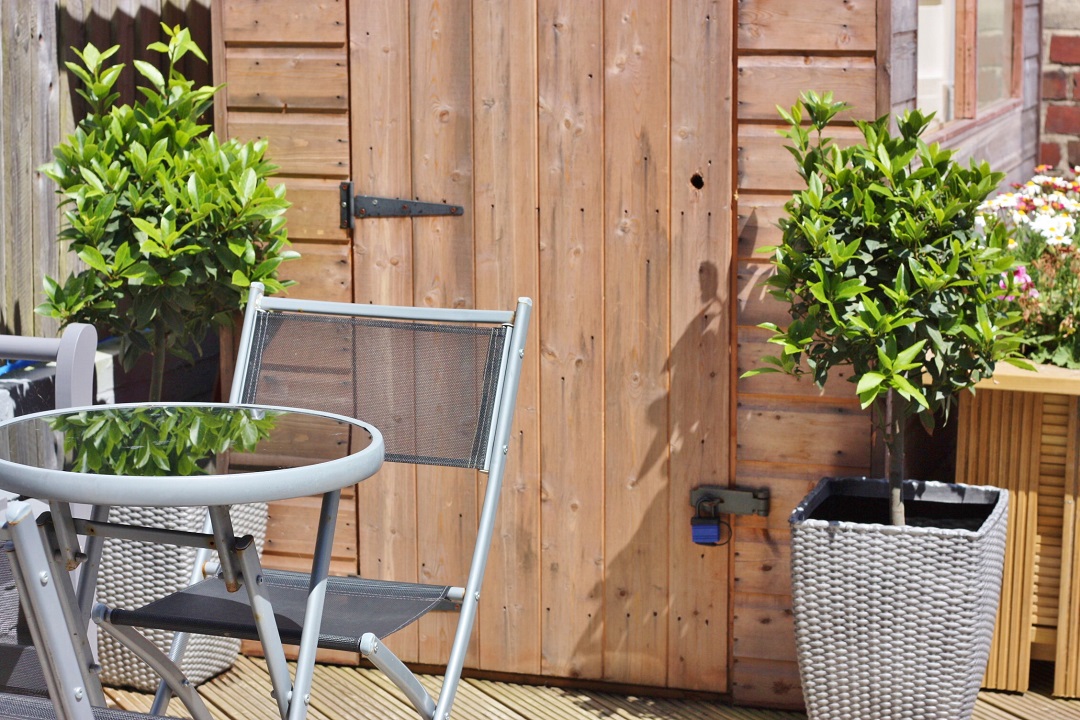
Then this Spring, Adam made me a beautiful raised bed for my birthday from some of the spare decking planks and I got busy filling the garden with flowers. Before long, we were at the stage of wanting to sell, and the final tweaks were needed to make it as beautiful as possible.
Firstly, a banister was needed, followed by painting of the concrete steps in the same grey as the low wall.


Adam clad the cellar door (what else would you call the storage under the garden stairs dahhhhhhling?!) and after a huge number of hours we were very close to being done…
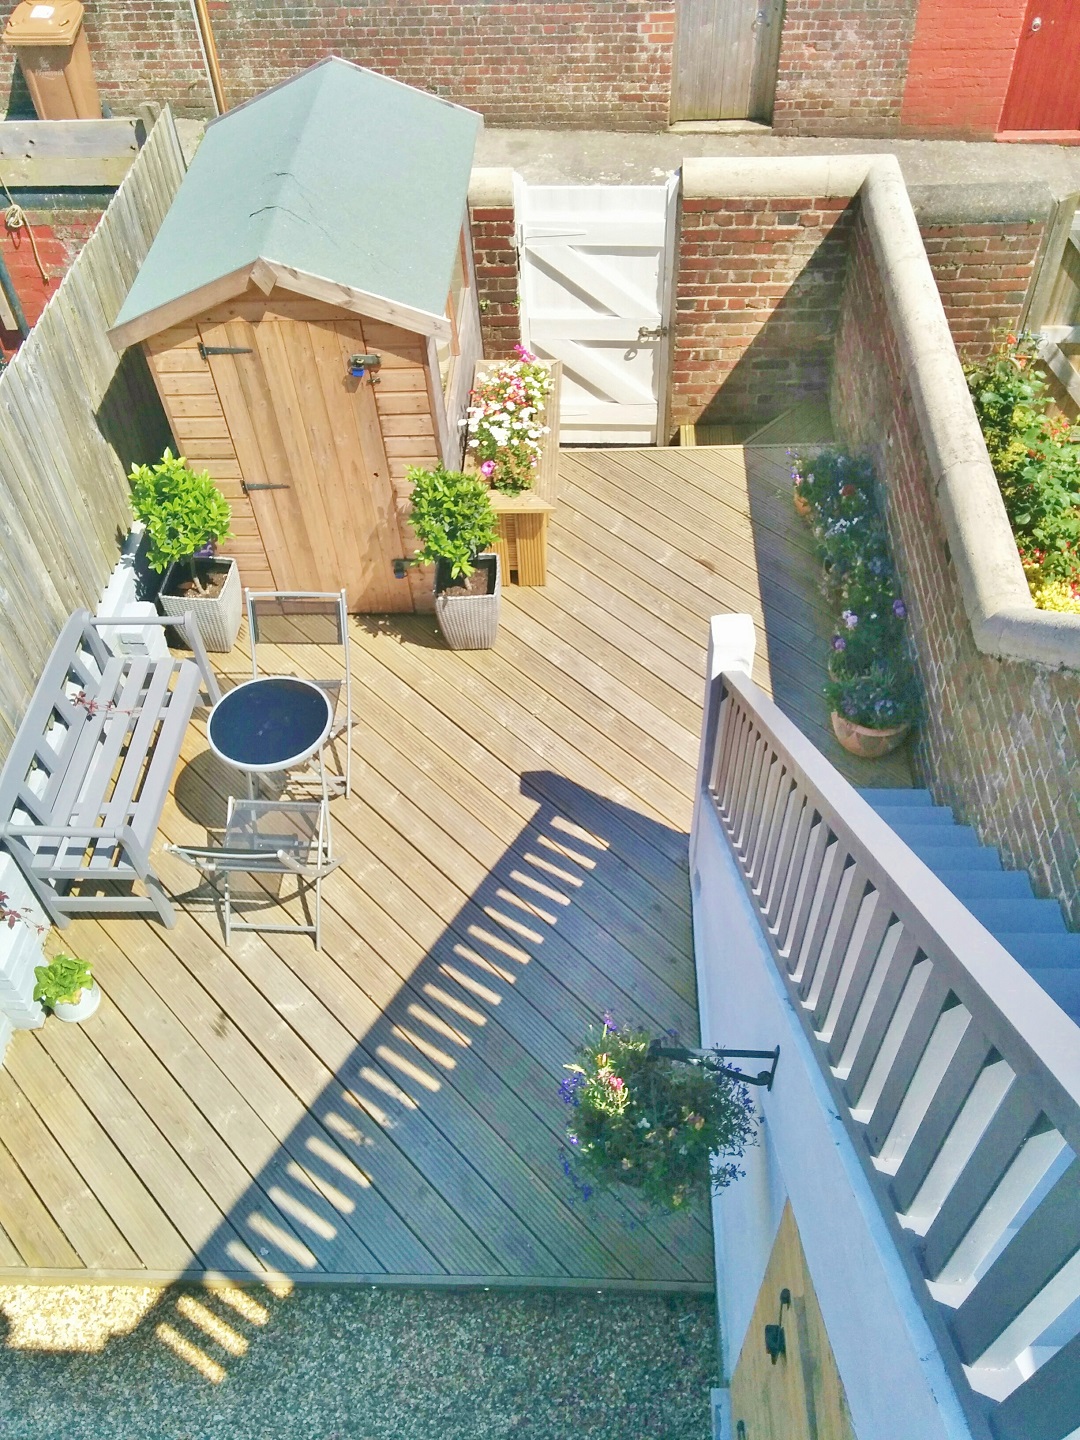
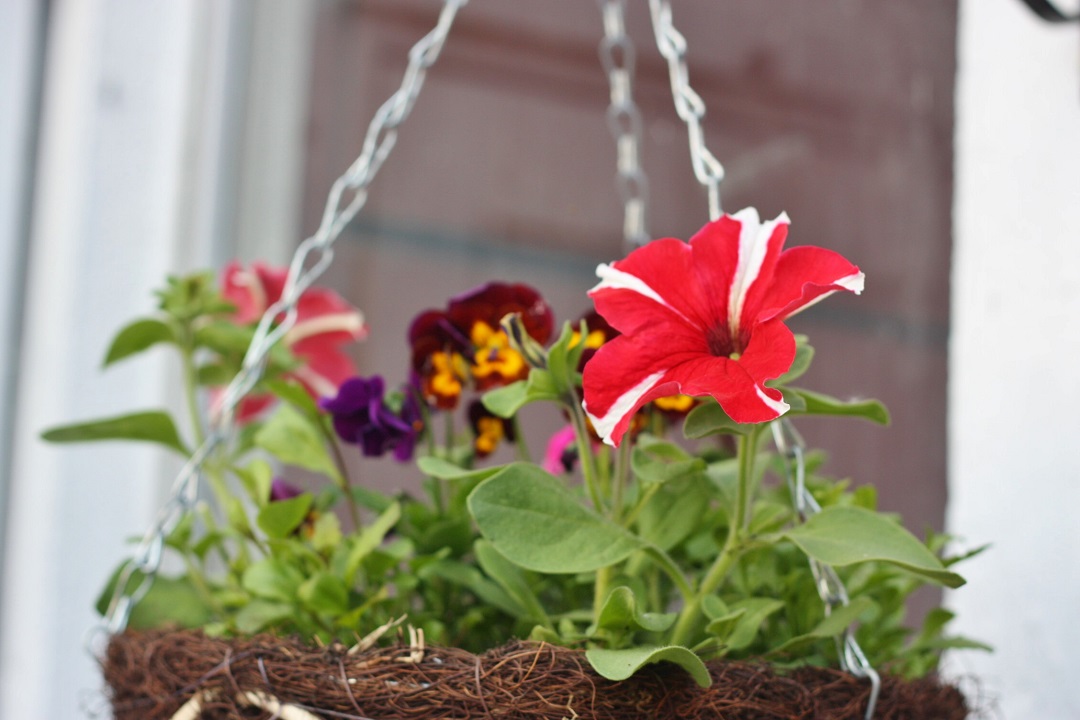
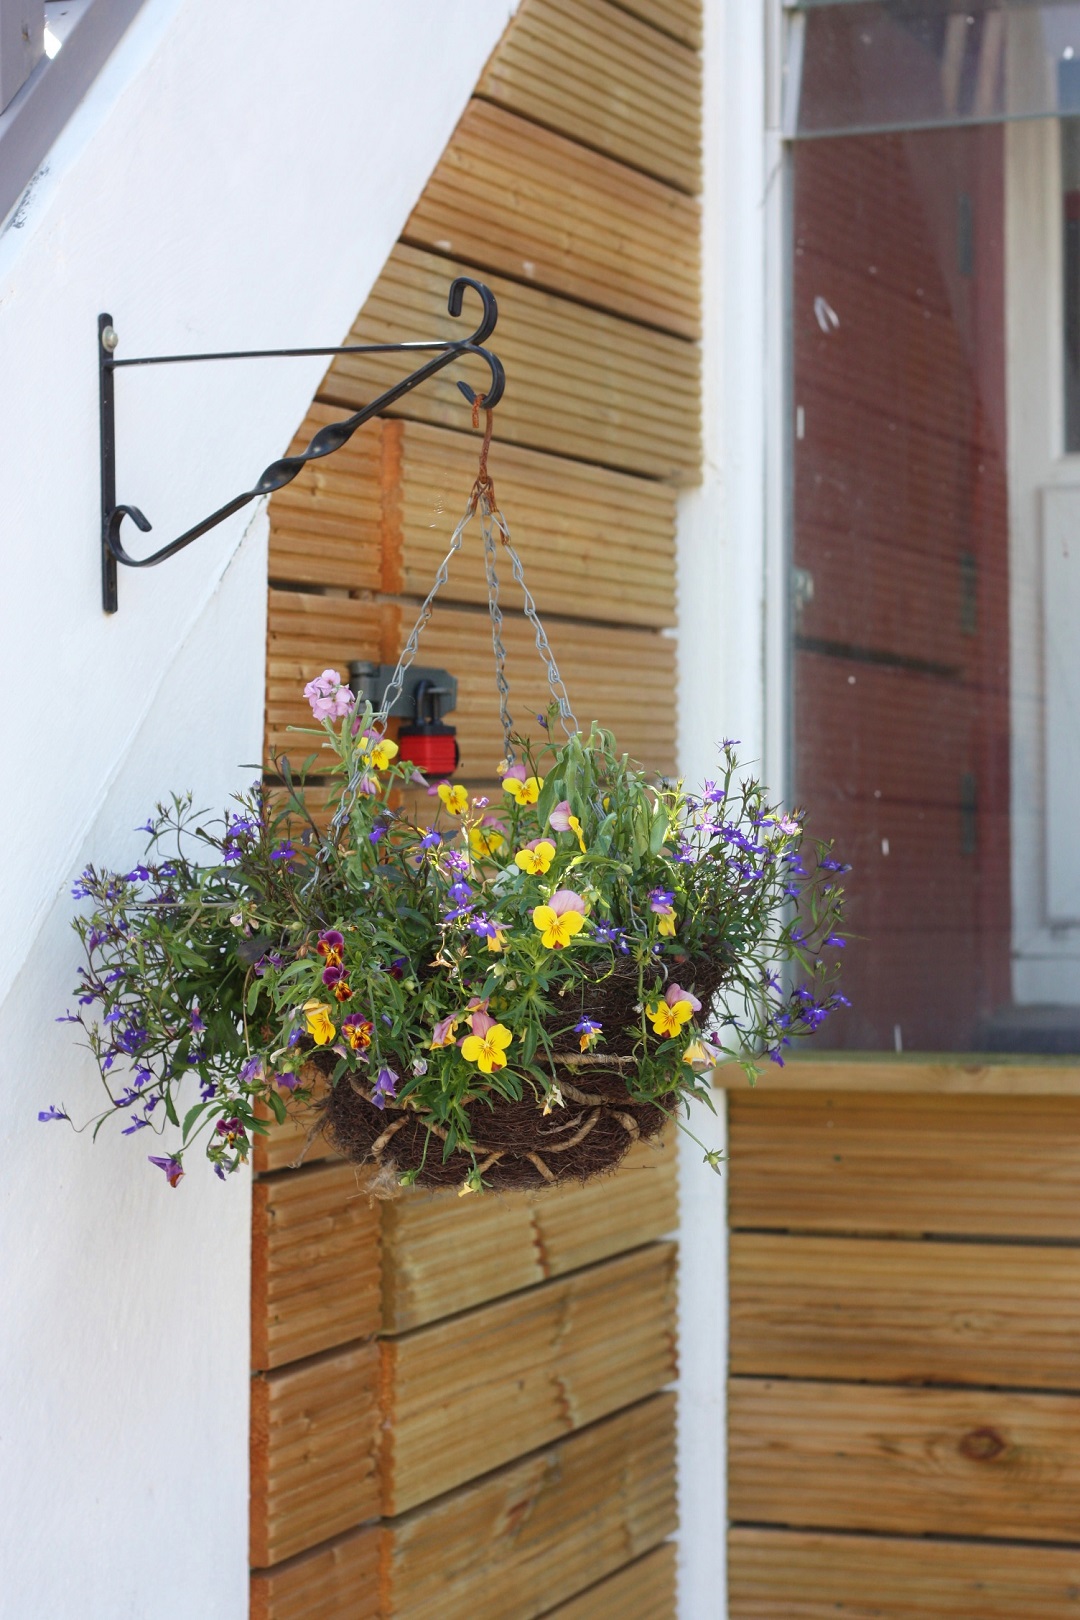
I was treated to some new summer plants for my pots, baskets and planter, and we began giving the shed, fence and decking some love after 6 months exposure to the elements, our final job in this momentously long string of tasks that only renovating the garden can bring!
Then, after a weekend of DIY, we’ve finally put the flat on the market. If you saw my Bathroom DIY post, you’ll know it’s not only been the garden, and I’ve still got the Living Room to write up. However, for the hours and graft put in, and the satisfaction from a job well done, the garden DIY has definitely been our favourite project!

If you’d like a nose through our other rooms, have a look at the house listing online on Rightmove. Plus, if you know anyone interested in buying a flat in Plymouth, send them our way…!!
***I’m entering the #BloggersBlogAwards this year in the “New Blog on the Block” category, if you’d like to vote, please click HERE.***