DIY – The Bathroom
When you buy a new house, one of the exciting things you can look forward to is changing each room to exactly how you want it to be. The bathroom in Adam’s flat was fine when we moved in, but with some specific DIY touches, we have made our stamp on the place and hopefully improved it ready for prospective buyers in the future.
Let me get this straight, we do a LOT of DIY.
I’m talking hours and hours devoted to sanding, painting, screwing, scrubbing, hammering, measuring and, if you’ve ever spent much time doing it yourself, grumbling about how unfair it is that it always seems to take twice as long and cost twice as much.
Because folks, that’s just how it is!
With redoing the bathroom, initially I was dubious, because it really wasn’t that bad.
We had clean white tiles, an odd but practical double shower and the loo and sink were sort of fine. But I guess with the lino floor, bright blue walls and plastic cistern, it also wasn’t a space to be proud of. Now that we’ve gone through the hard bathroom renovation graft and it’s SO nearly finished, I absolutely love every bit of it and I couldn’t resist sharing some photos of the stages we’ve completed so far.
First up, here’s what the bathroom looked like when we first viewed the flat, before we’d even moved in:

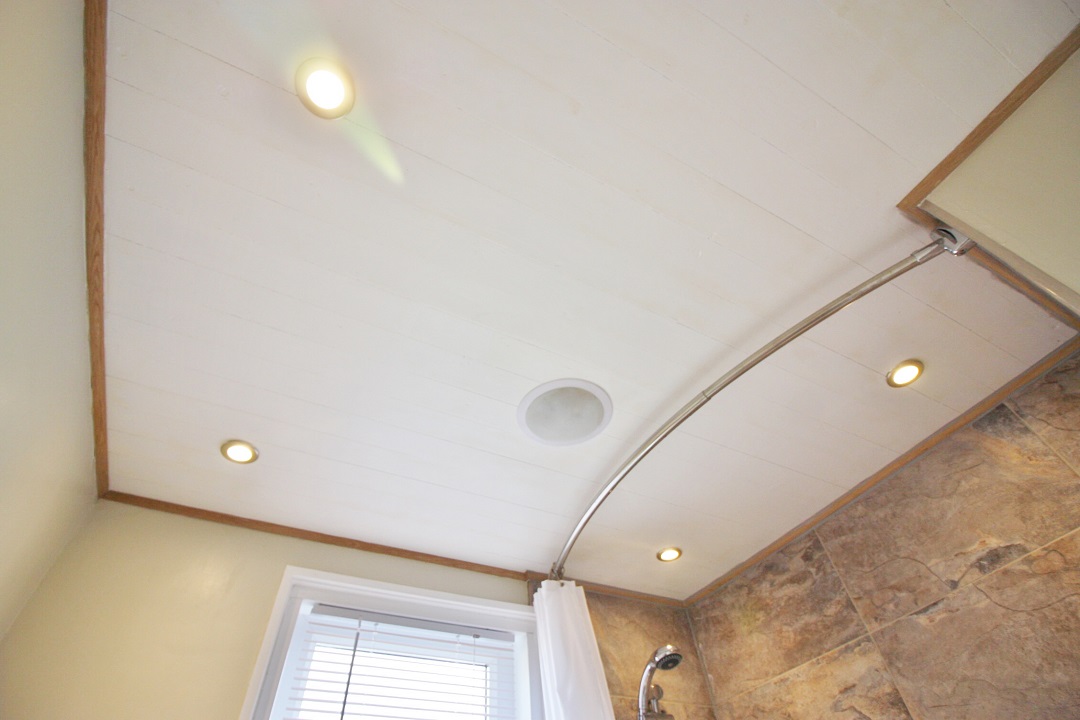
The first thing that Adam wanted to do was change the lighting. Initially it was just one grubby central light fitting in an old fashioned glass dome thing. Installing a bright LED in each corner instantly made the whole room feel bigger and lighter, plus Adam couldn’t resist also installing a bluetooth bathroom speaker so that we could play whatever music we fancied without having to get our phones or ipads wet. It’s wired into the ceiling and has a switch next to the light on the wall outside and though I felt it was excessive at the time, there’s no doubting how much I love it now!
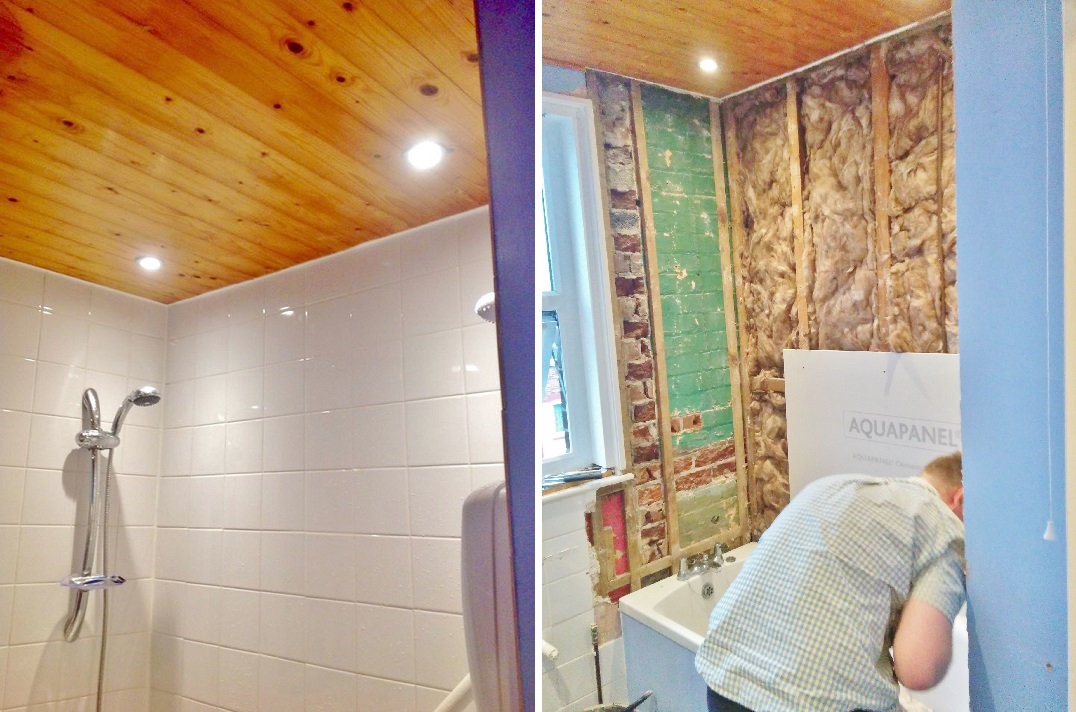
The next step happened literally overnight, as one of the tiles cracked where the granny handle was drilled into the wall and as Adam gave it a little pull, the whole thing came crashing down. Whoever had installed it previously hadn’t sealed the tiles properly, so the plasterboard over time had become saturated and turned to mush.
One minute there was a clean tiled white wall, the next we could see into the kitchen electrics.
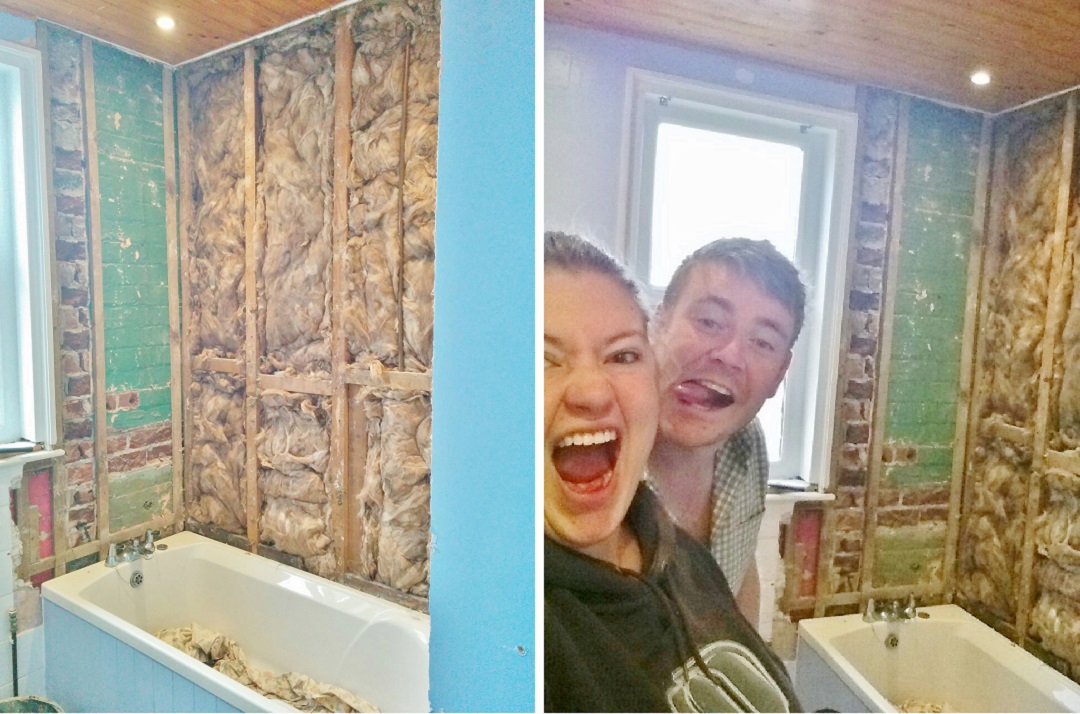
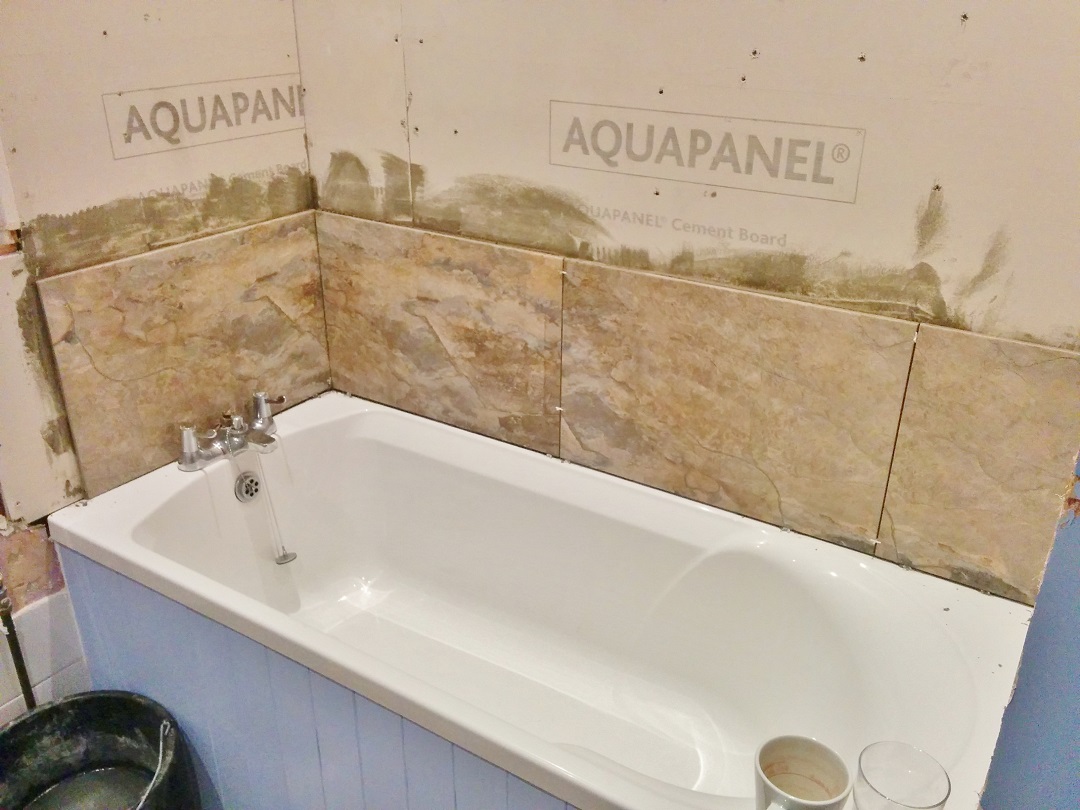
We stuffed in more insulation between the joists and set about putting up heavy duty waterproof plasterboard, which in a bathroom where no wall is straight or aligned, is actually quite a challenge!
This then soon followed with our first attempts at tiling, accompanied by YouTube instructional videos and a fair few prayers that they didn’t fall.
They didn’t.
Hooray!
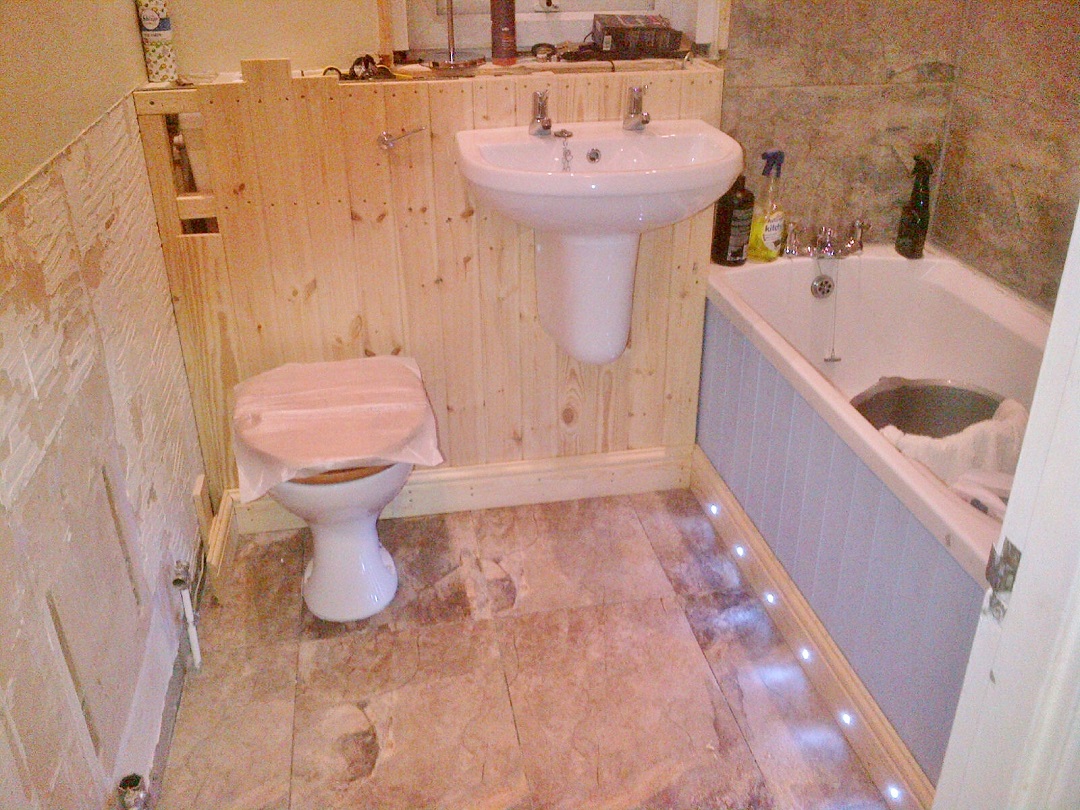
Once the majority of the tiling was complete, and to our surprise actually a) stayed on the wall and b) looked pretty level, we set about dismantling the important bits, removing the sink and lino to start the build of the box casing that would hold the new basin and hide the cistern and pipework. 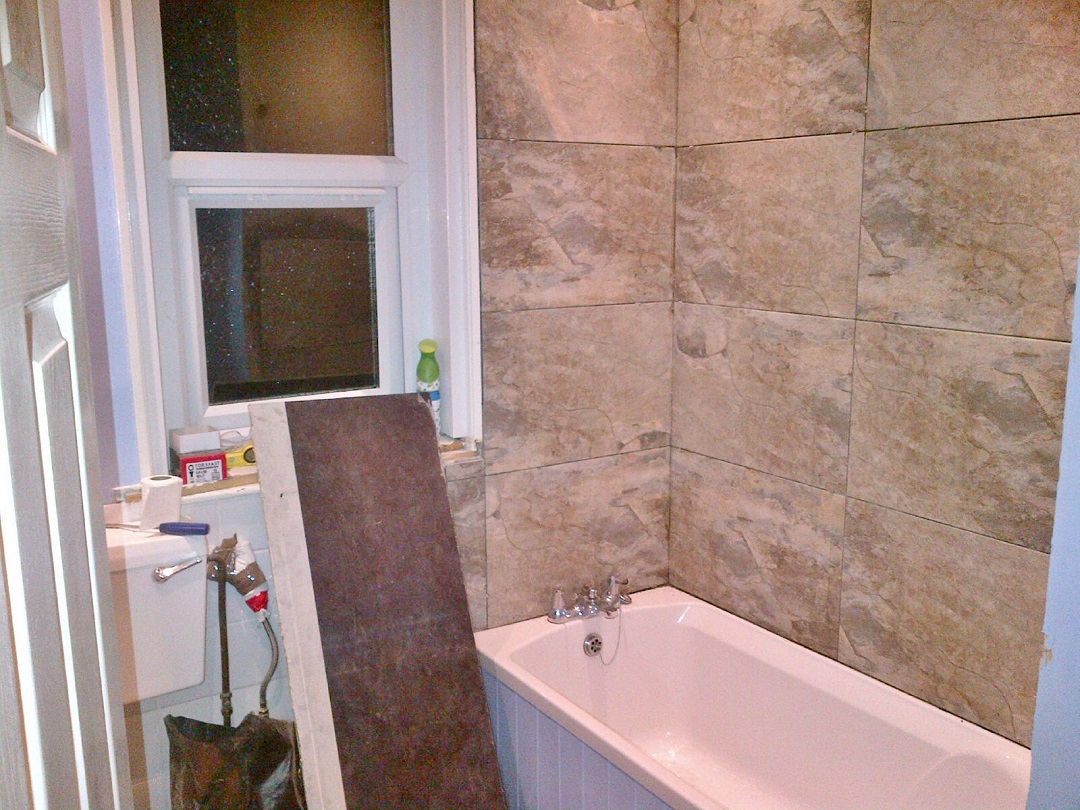
We figured it was the easiest (and possibly cheapest) way of not replacing the whole toilet and providing ourselves some extra space. Adam built the frame out of timber and we clad it on the exterior to match the bath and the left hand wall where removing the tiles had left a very uneven wall surface.
At this point we painted the odd Swedish sauna ceiling white and I also discovered a few skill to add to my list – grouting. It is so satisfying and surprisingly easy, quite possibly my favourite job of the whole bathroom!
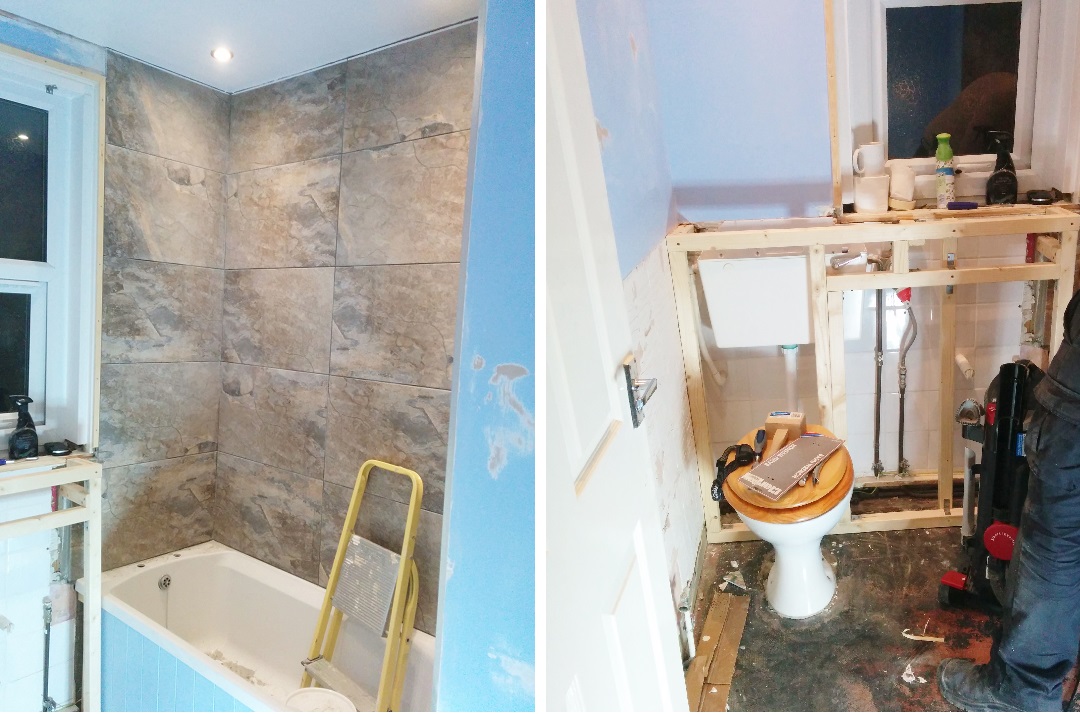
The bathroom was really starting to take shape at this point, especially as the box was clad and Adam fitted the little LED lights along the bottom of the bath.

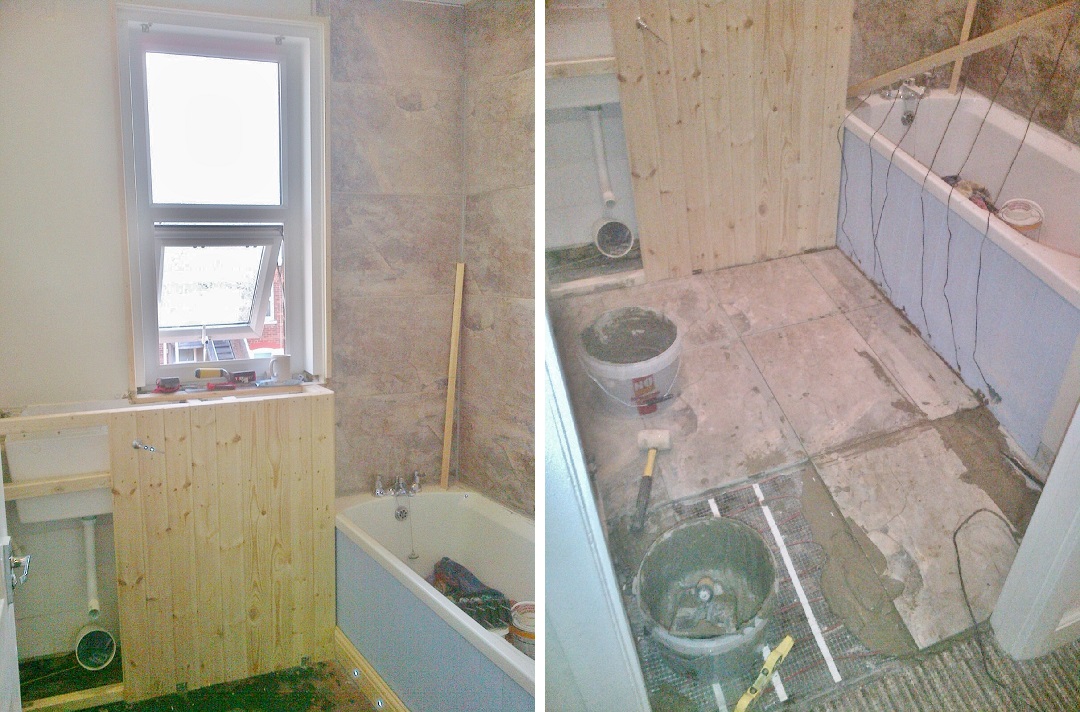
It got to the crucial point where the floor tiles needed to be laid, but in order to do that, the loo had to come out. Luckily Adam decided it would be best to do this one evening during the week so I didn’t have to wee in a bucket, and he could stay at his parents overnight before the loo went back in the next day.
The most exciting thing about this step wasn’t so much the lovely matching floor tiles, it was more the UNDERFLOOR HEATING!
You heard correctly!
No longer would our little tootsies feel an early morning chill.
No longer would sleeping on the bathroom floor after an unexpectedly heavy night drinking leave you cold and shivering.
We will live in the height of luxury and have warm bathroom tiles….that is…when we can justify the expense of turning it on!
With the structural elements mainly complete, we could move onto painting the bathroom walls and woodwork, choosing fresh white wood and a neutral off white colour for the walls. I was seriously not keen initially, but actually when you’re looking to sell, neutral neutral neutral is all estate agents tell you, and it does look really nice against the tiles.
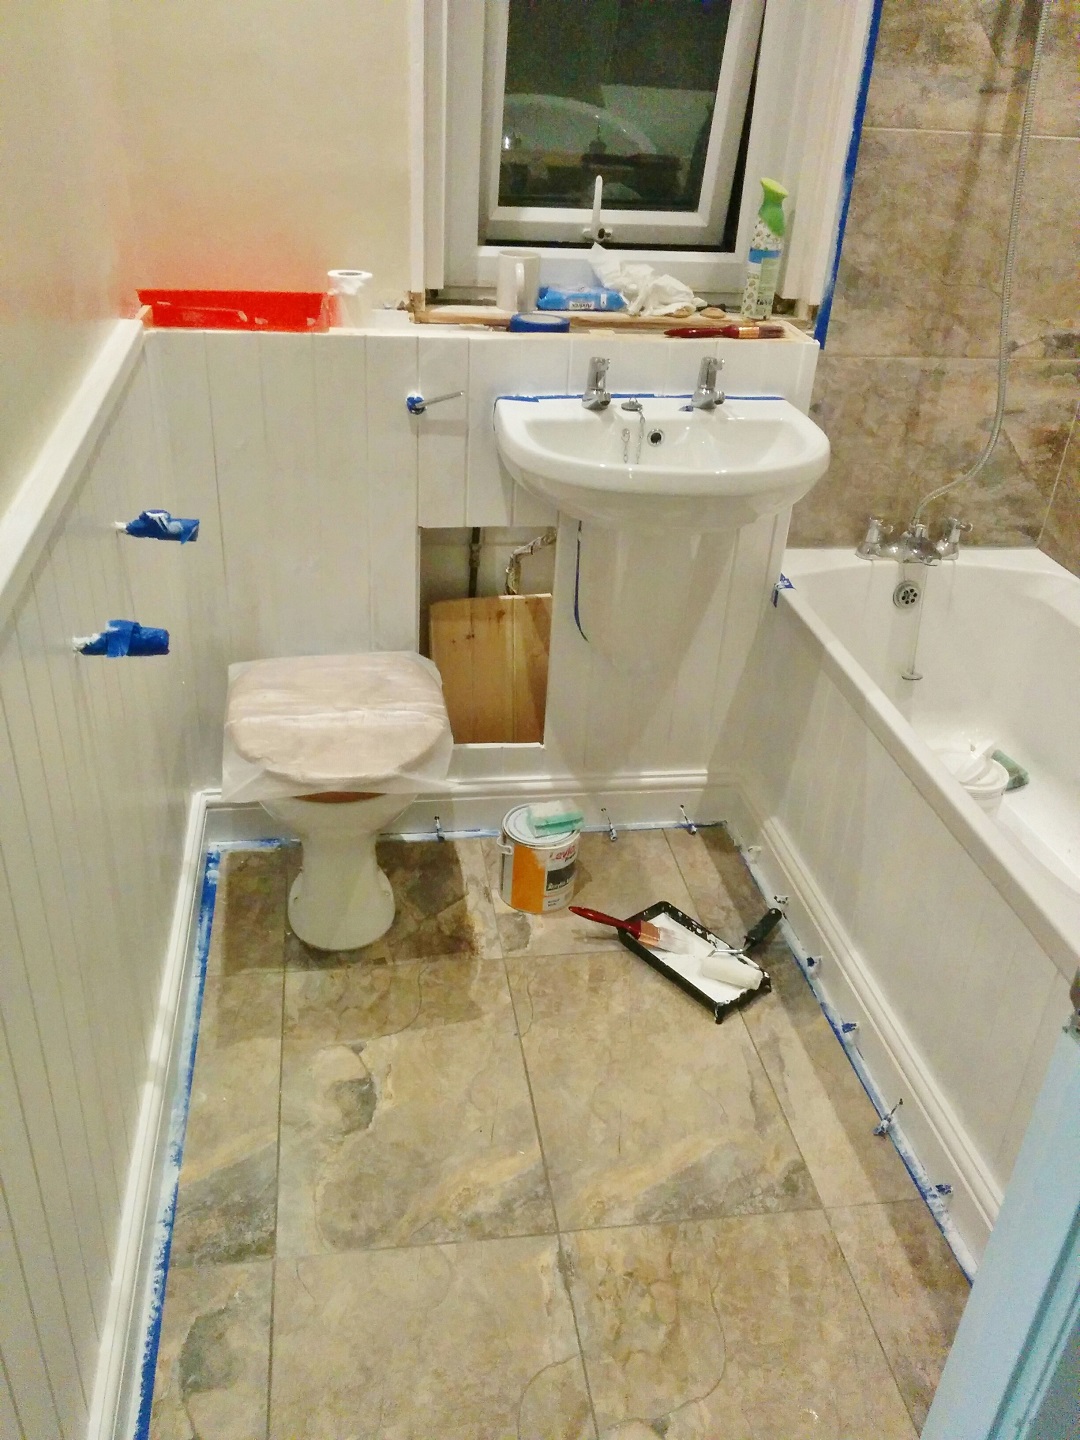
To set off the bathroom, we really wanted a solid work surface to sit on top of the box. The problem is, they’re all either horrible, rubbish in a wet environment, or crazy expensive. That is, until browsing gumtree, Adam came across a guy offering a slab of oak worktop that was an offcut from a kitchen, for about a tenner. Low and behold, it fit with only inches to spare and was absolutely perfect for what we needed!
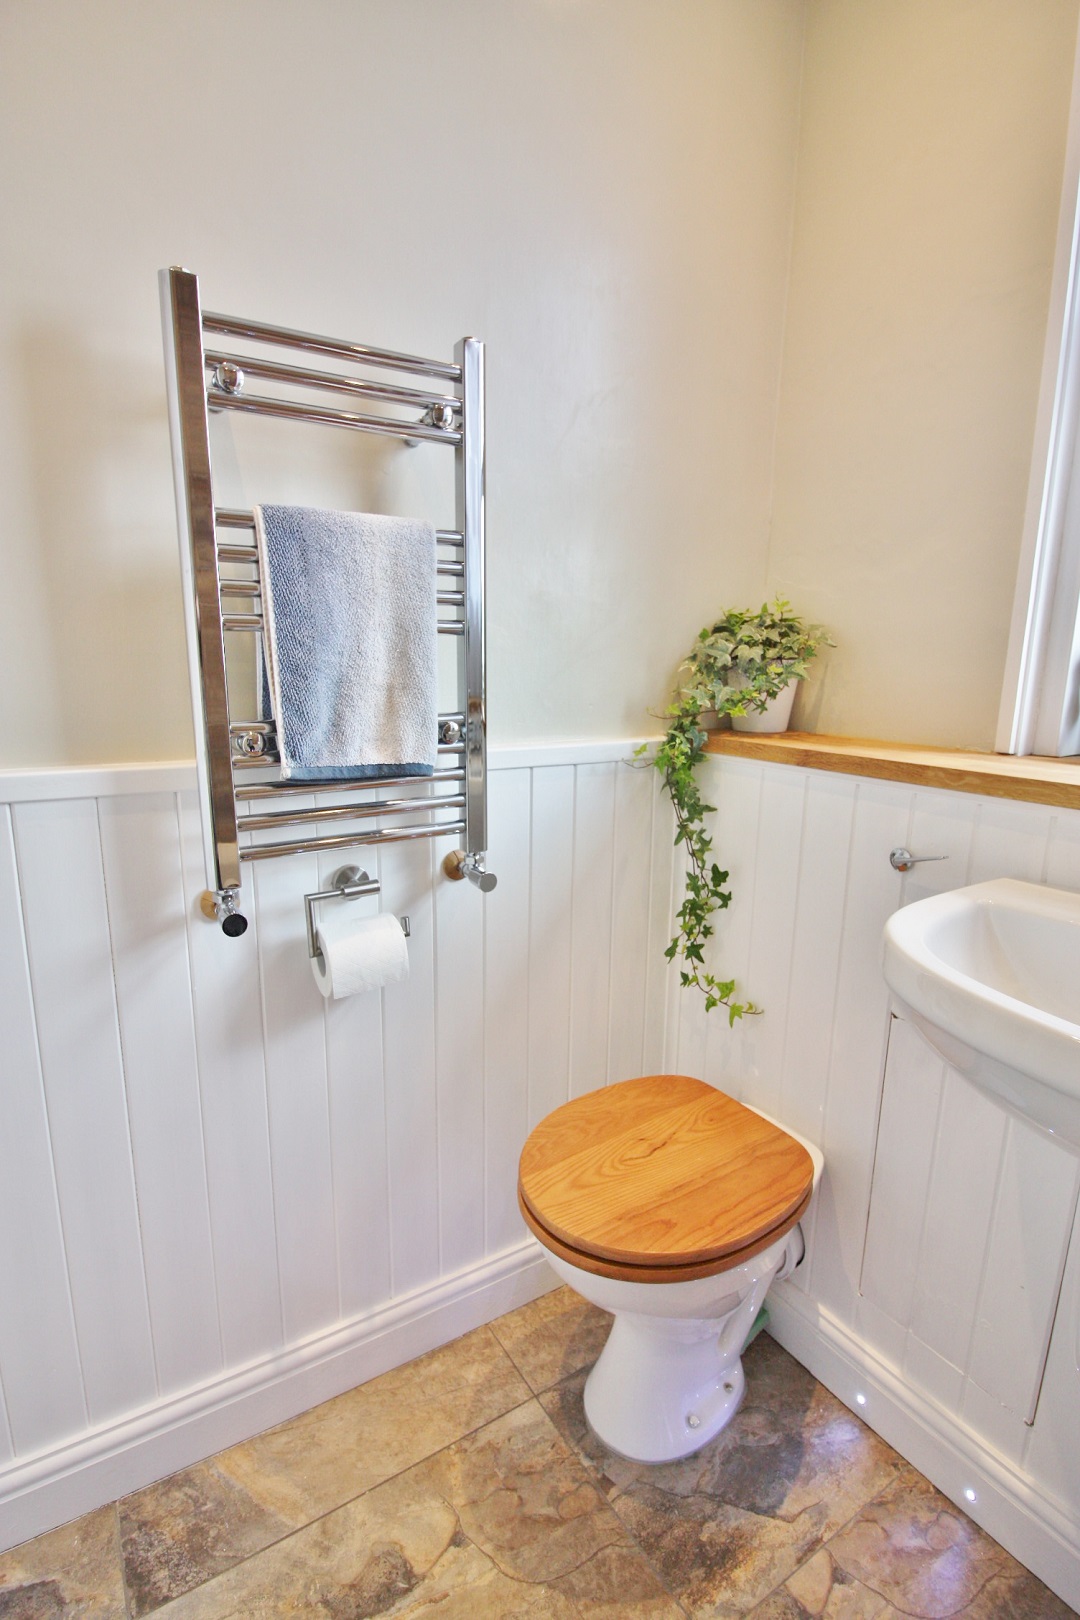
To be in keeping with this new addition, we added oak coving around the ceiling, an oak loo seat and an oak threshold in the doorway. Little touches can really make a room.
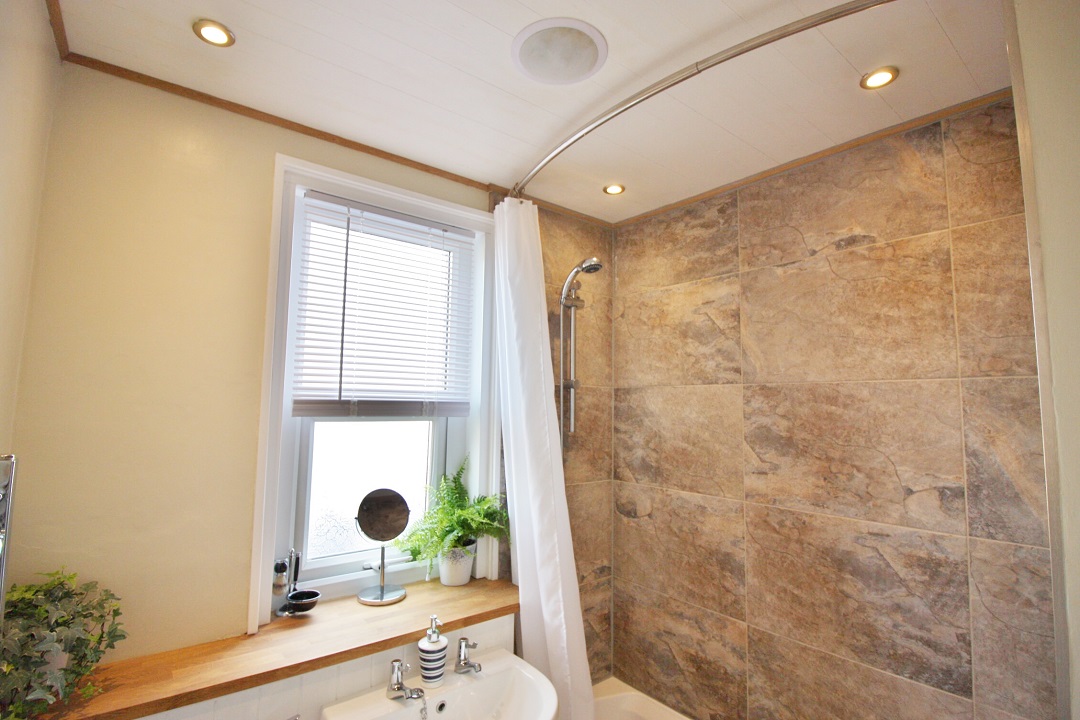
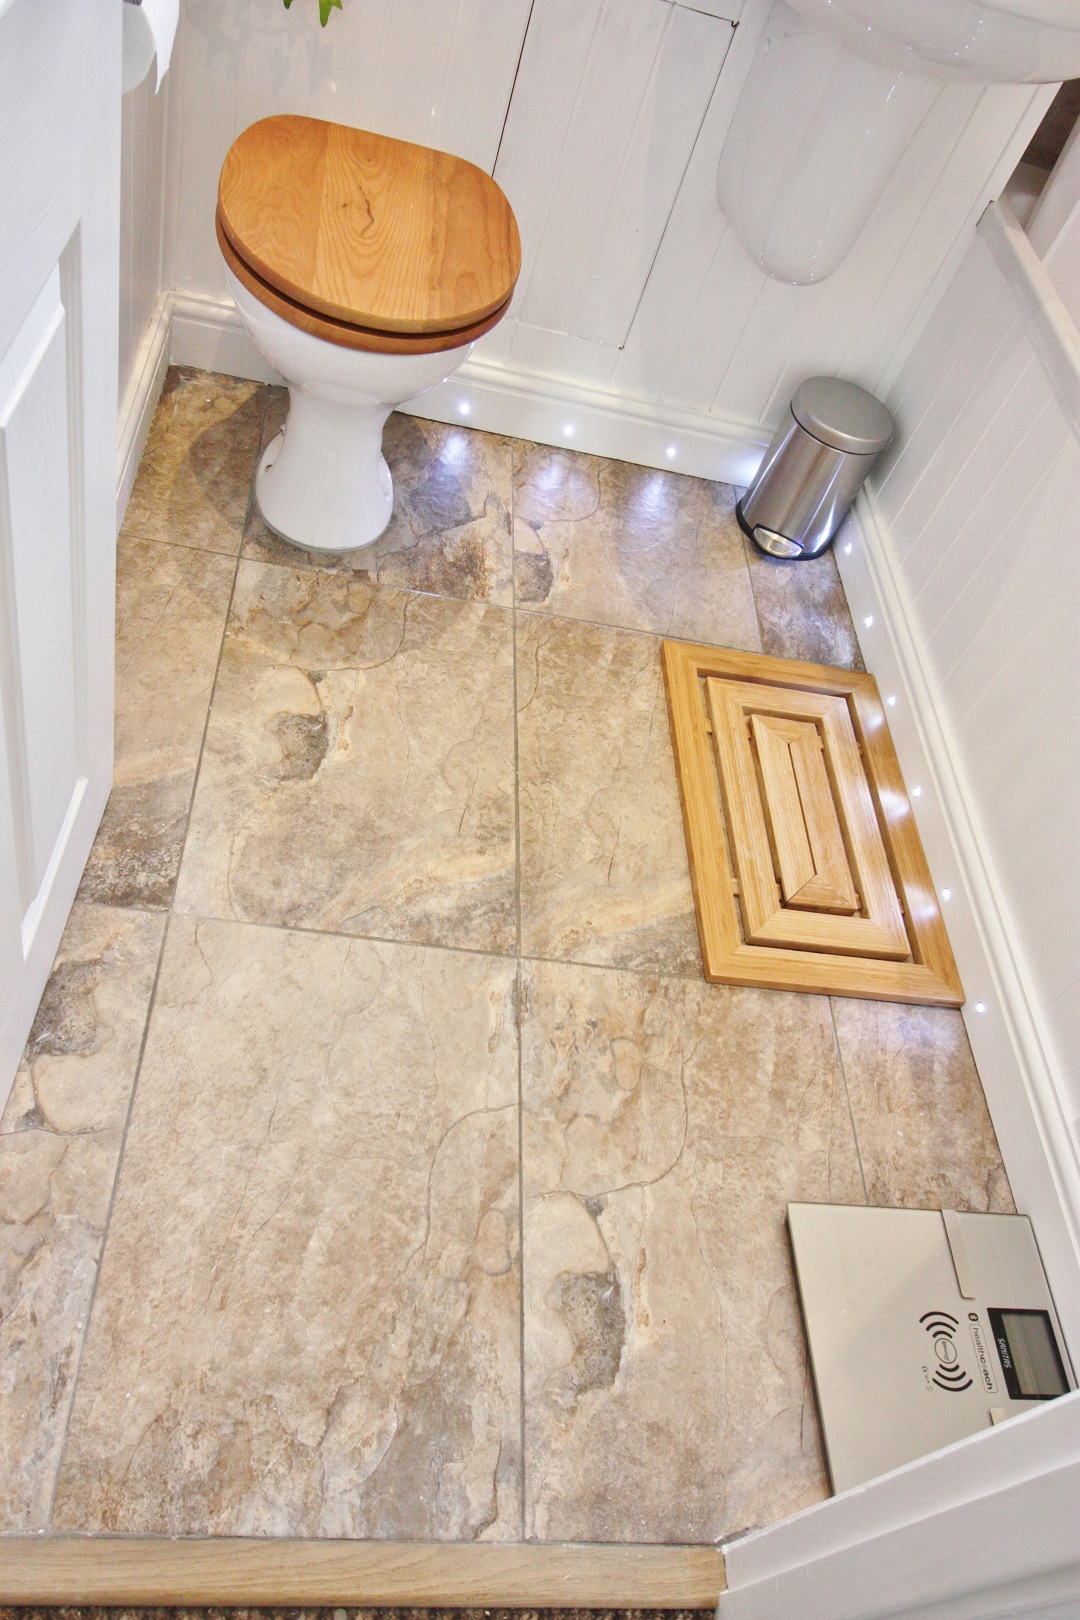
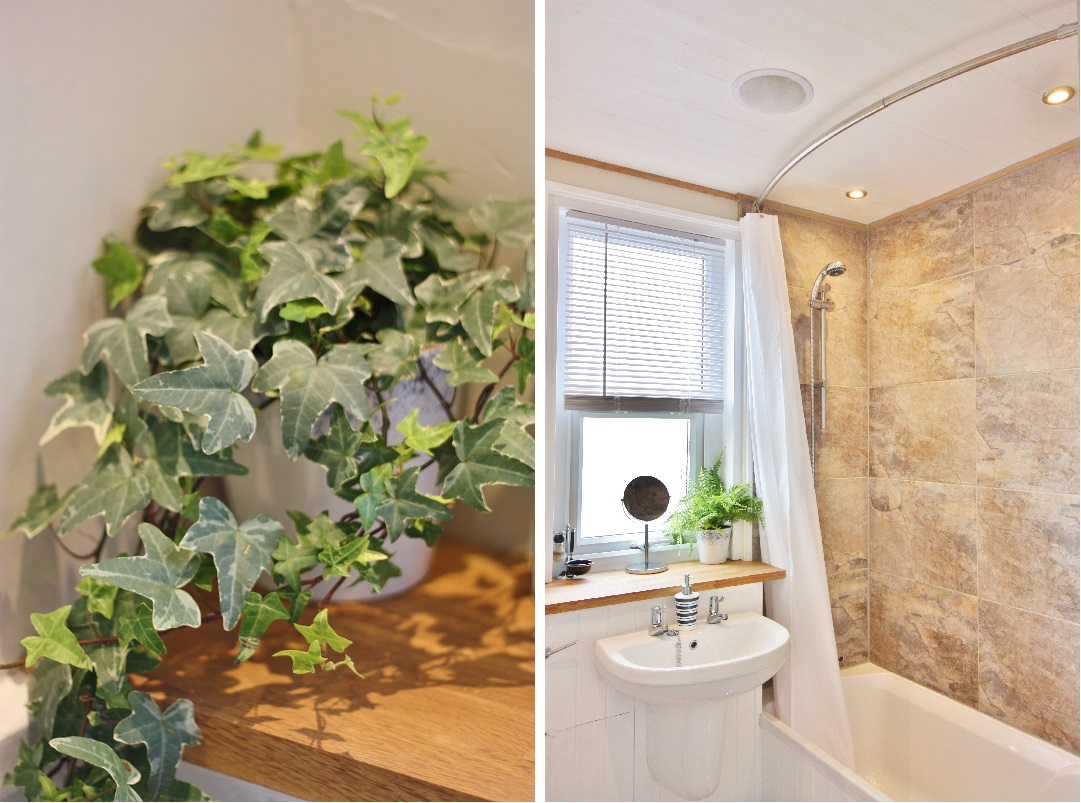
So without further ado, here is what the bathroom looks like now:
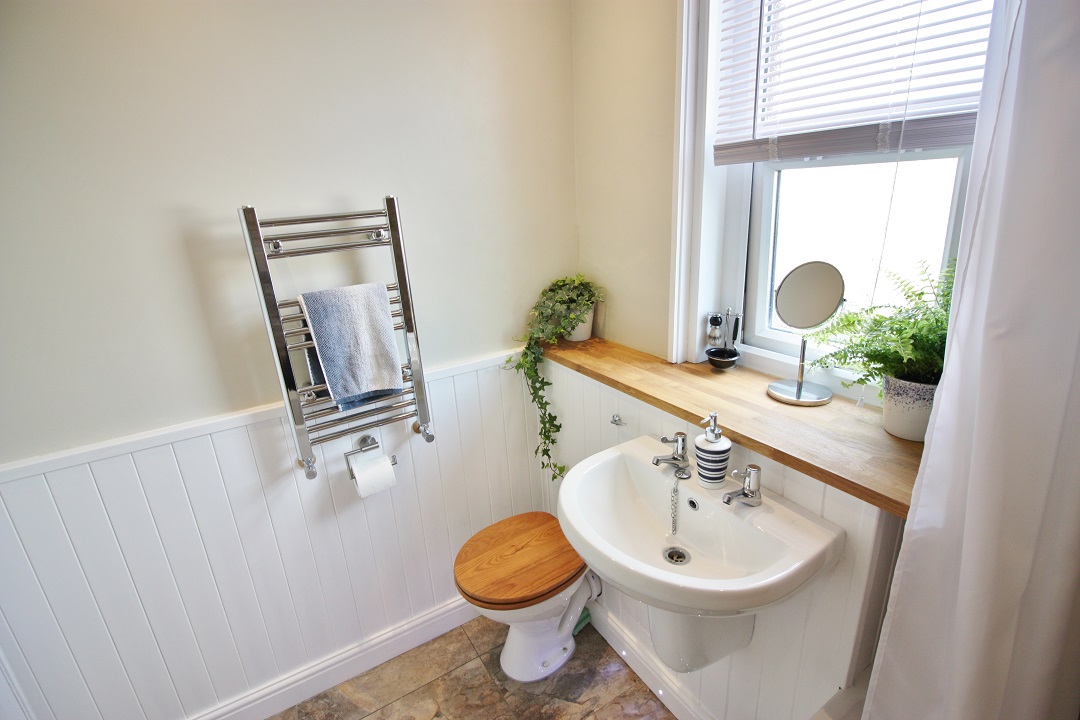
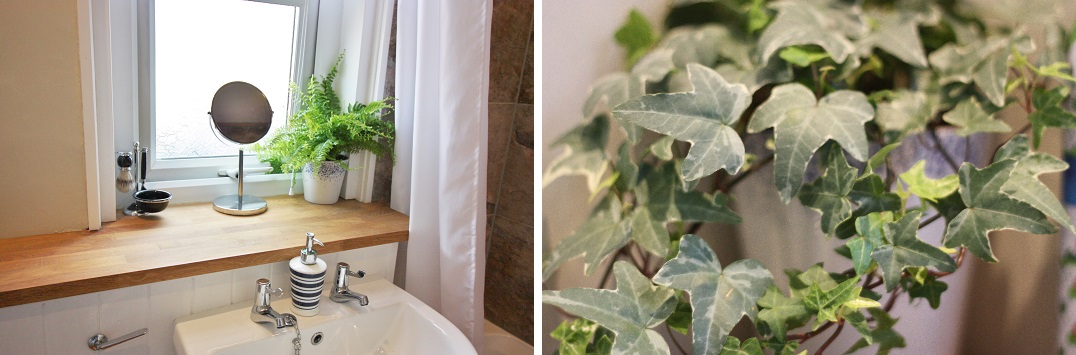
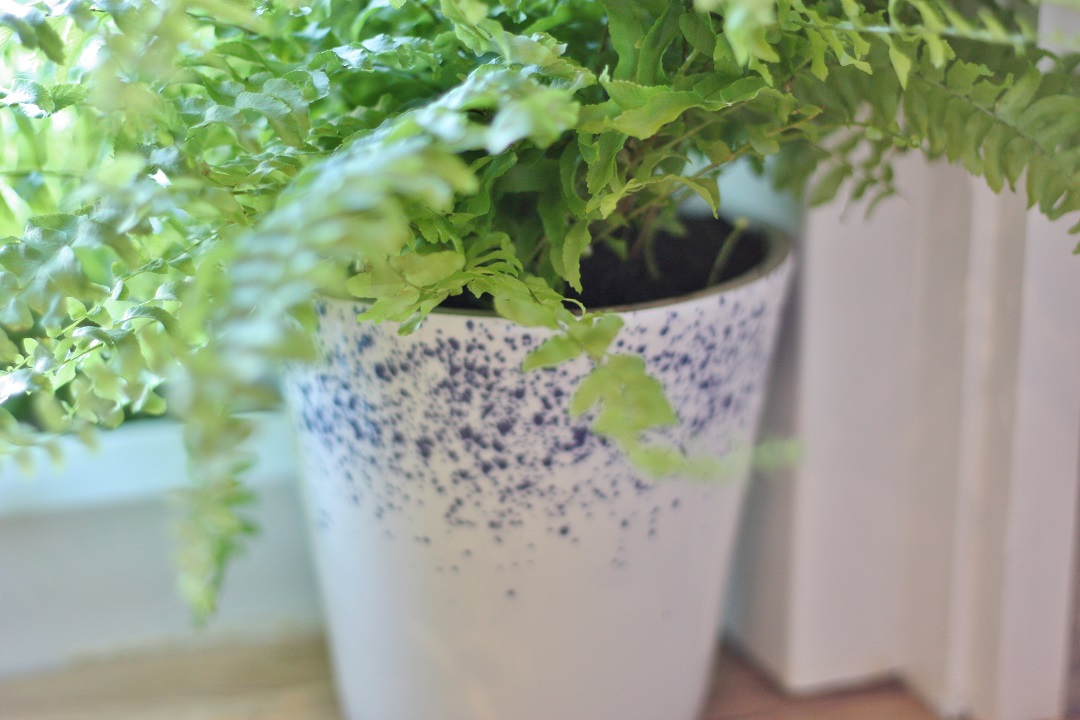
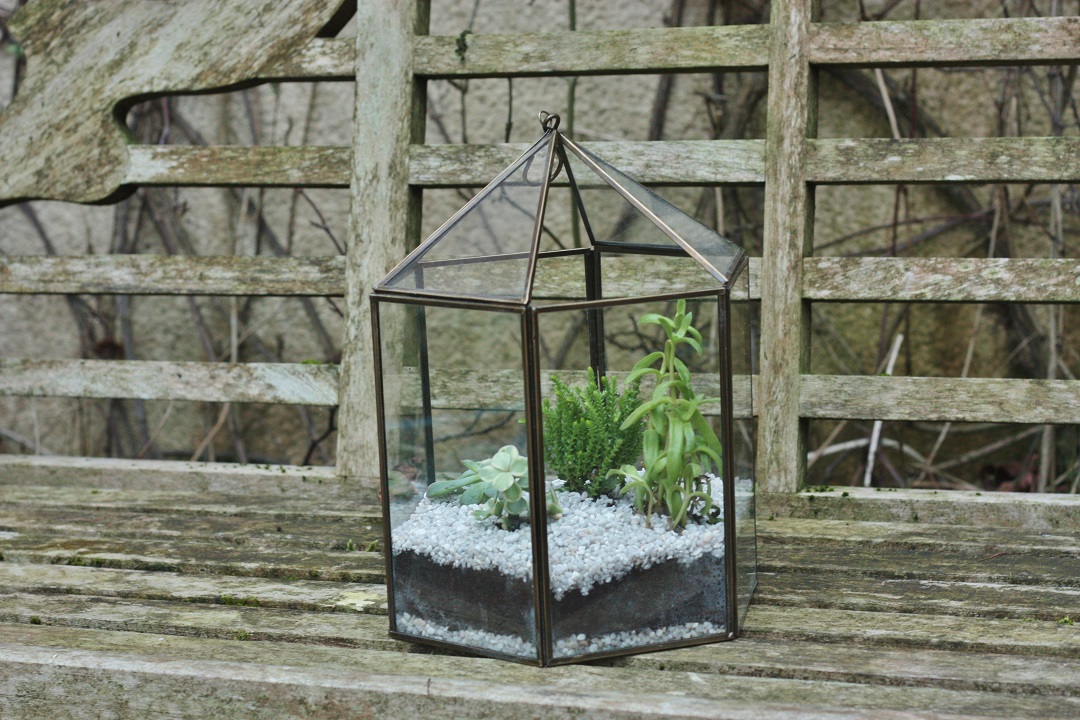
With a new shiny chrome radiator, curved shower rail and a moisture absorbing plant or two, we’d finally got there. Yes, I had to repaint quite a few sections of wall where I left the masking tape on too long. Yes it felt like we were redoing the bathroom for about 10 years rather than a month or two. There are still a few little tweaks to make before it is 100% finished, but since being given these gorgeous speckled terracotta pots for my birthday and adding a little greenery, it finally felt this weekend like the bathroom was done and dusted and one to be proud of.


If you’re interested in how we actually did any of the steps or where we got any of the tools/tiles/bathroom bits (how do you categorise sinks and radiators – accessories?!) then I’m more than happy to let you know in the comments below. I have no idea if that’s the sort of thing people are interested in knowing? I guess if you’re doing the bathroom it might be! Trust me, I can give you some great advice on which paint to use, how to tile a wall, how to lay underfloor heating…etc as we’re now bathroom DIY pros!